Foehammer’s Konflikted Painting Table
Werfer-Envy
So, as mentioned in previous posts, my family is moving in the upcoming weeks, and as a part of that I am trying to downsize and consolidate my hobby-related stuff. While in some cases that means heading to Ebay for offloading unused figs, for hobby materials it means trying to attempt some projects to use materials.
One such project that I started a few weeks ago, and showed off in the old “What Are You Painting Now” threads, was my USMC T27 Rocket Launcher. In most of the Bolt Action books, each army gets their own version of their front-line artillery rocket launcher. The Germans have their Nebelwerfer, the US the T27, the Soviets the Katyusha. I’d always wanted to try out a rocket launcher in game (they are somewhat hit-and-miss, but a fantastic cheap terror weapon), but unfortunately unlike the Germans/Soviets, the US lacked a model.
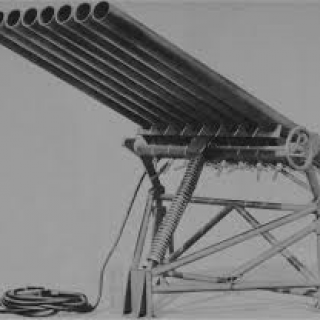
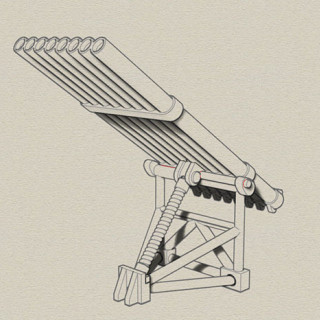
Digging through my hobby bins revealed I was sitting on a decent pile of Evergreen Plasticard bits, and some quick google searches showed that the US T27, like most WW2 rocket launchers, wasn’t an overly complex design. A frame and some tubes.
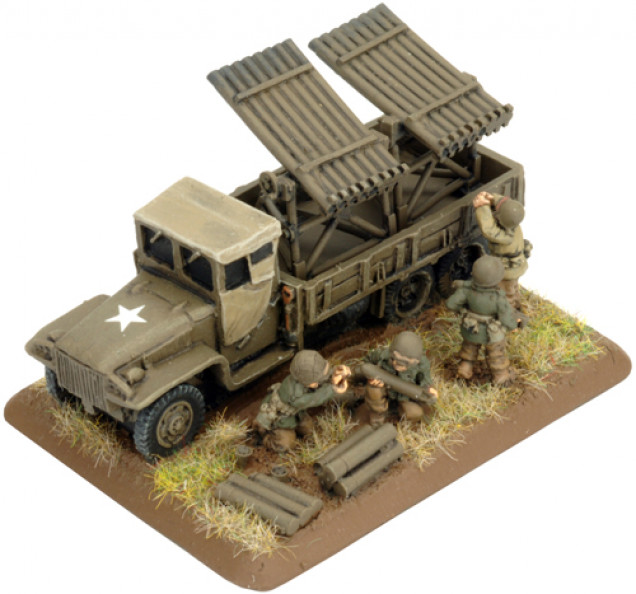
Now, often these launchers are depicted in historical photographs mounted in the bed of a truck. However, the Bolt Action rules just have it as a land-based piece of artillery, so that was what I was going to build. I figured being for USMC, the Pacific Islands would be less ideal for truck-mounted weapons anyway.
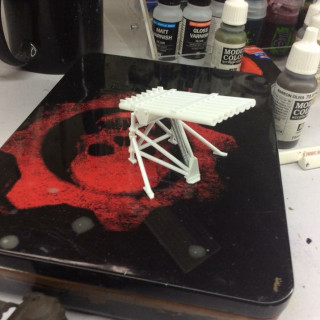
Below show my earlier images for the launcher built out of various plasticard tubes and strips I had lying around. I am constantly amazed at how easy this stuff is to work with, given that it goes together quickly with plastic glue, and thus won’t glue your fingers together. I built the actual launcher tubes first, as that would dictate the width of the actual frame to support it. Once the launcher tubes were completed, I then went about, slowly, building the frame. I’d cut a few pieces, glue a couple, and leave it to the next day to dry. Whole assembly came together over a 3-4 weeknights after the kids went to bed. I like projects like that, as I often only get hobby time between 8:30-10pm, so projects that work in small chunks help me make steady progress.
The only thing that isn’t plasticard in this launcher is the metal wire I had left over from putting up Holiday decorations. I wrapped that around a plasticard tube to make the central screw/spring assembly.
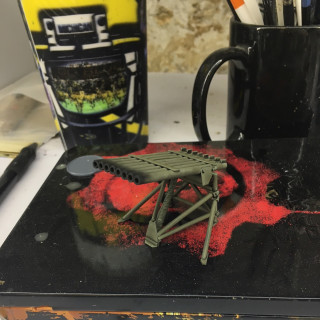
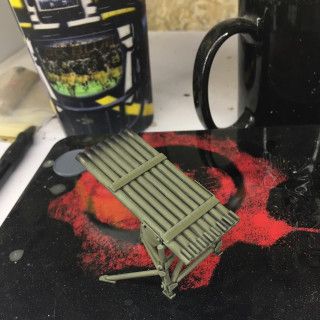
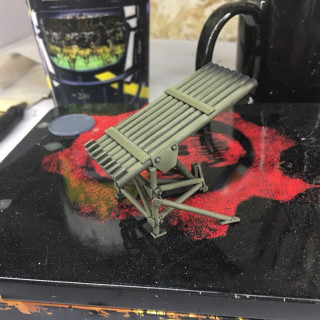
Below are a few pictures o the launcher painted up. It actually pained very quickly. I basecoated and highlighted with an airbrush using really basic zenith techniques. I then airbrushed some tin, and then black paint on the launcher tips to make it appear soot-stained from the rockets. After that was all completed, I simply painted nul-oil wash directly into recesses because I like high-contrast definition in my miniatures.
For those interested in my paints, I use Vallejo, start with US Olive Drab, and Highlight up to Brown Violet, and then a 50/50 mix of Brown Violet and Green Grey. Pure Green Grey is used for bush-applied edge highlights. I find these colors retain the US Green-brown, with the Green Grey giving the nice appearance of sun-bleaching.
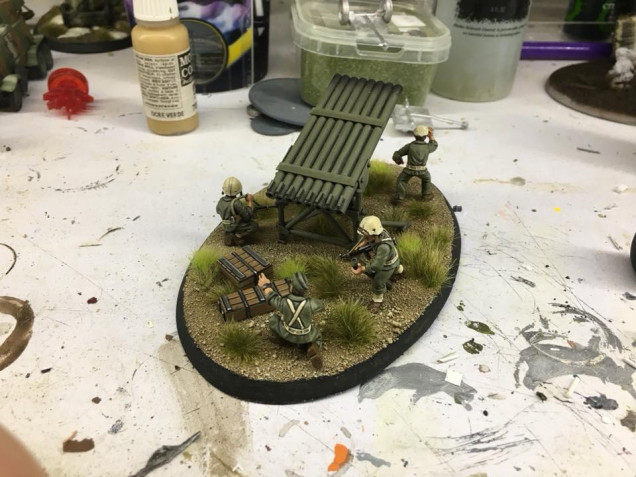
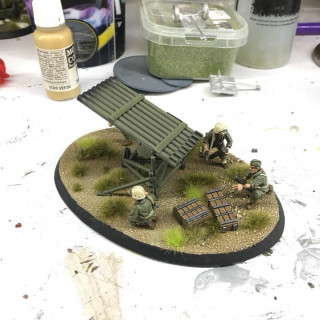
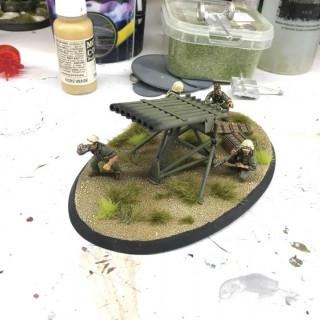
Lastly is the based model with Crew. The crew themselves are just USMC Warlord plastics, which easily make artillery crew by selecting arms with less combat poses. Things like guys holding bionoculars, pointing, or holding slung SMGs/Carbines. I used some ammo tubes from a German artillery piece to represent the rocket ammo tubes, and added a few crates from a Rubicon US vehicle stowage kit (awesome kit BTW, 1 has lasted me for a dozen models worth of stowage).
I may put together a separate entry later on how I make my bases, as I’ve gotten a lot of questions. Please feel free to leave comments if you have any questions on techniques or models.




Leave a Reply