Cant see the wood for the trees
Recommendations: 47
About the Project
This will be a journey in making affordable trees in approx 28mm scale for use in table top wargaming. To start i am going to show examples of trees to give an idea of what i am aiming towards with regards to realistic trees, then work through to stages of how i have made the trees......this make take some weeks as work and the time i can take over the dining room table keep getting in the way. This project is also an exercise in using materials avaliable without going and buying loads of additional stuff in order to make realistic hard wearing trees for the table top.
Related Game: Kings of War
Related Genre: Game Aid
This Project is Active
A second style of trees
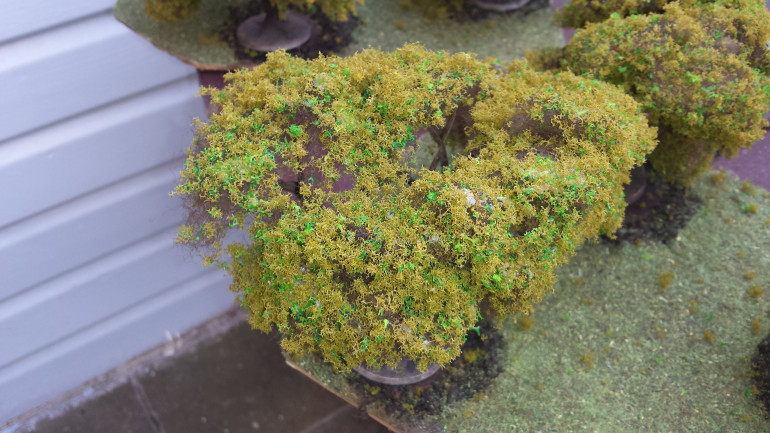
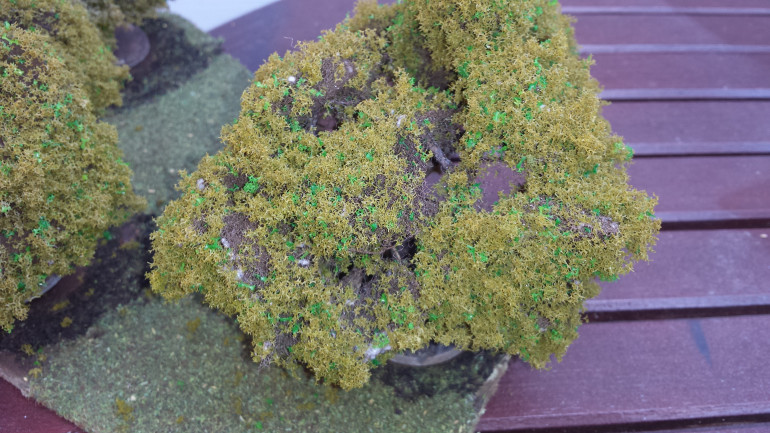
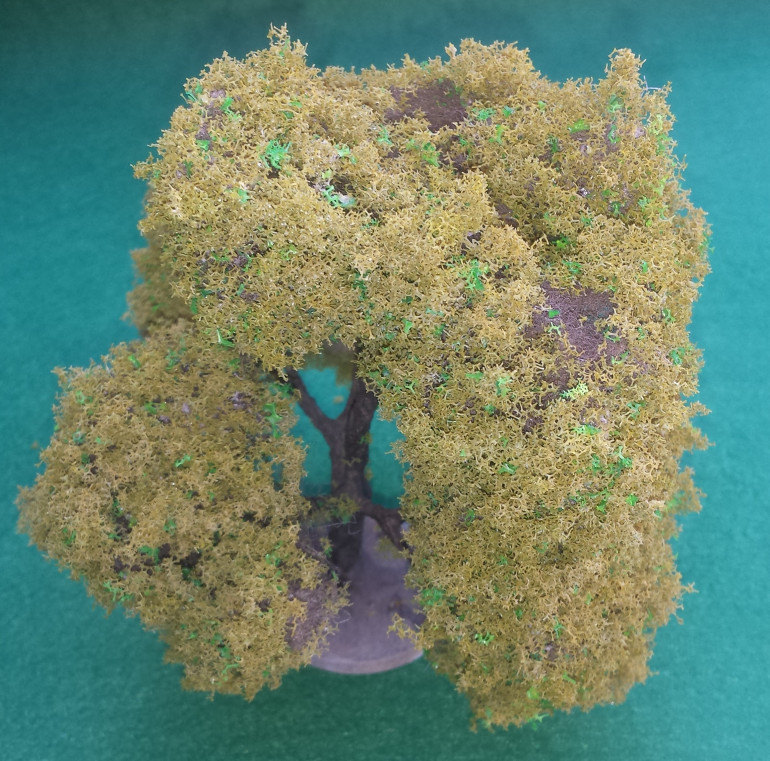
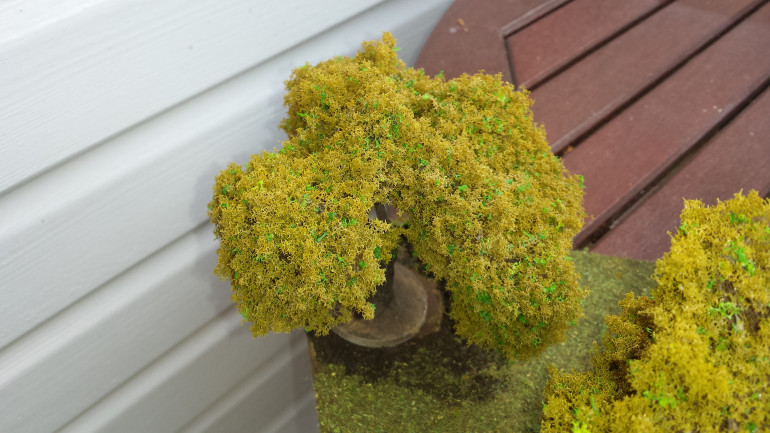
Moving forward in to another part of this project, i have embarked on another style of trees harking back to the early ’80’s for inspiration and using guttering brush’s covered in flock/clump foliage for an old style wargaming tree build.
Starting with 4m of Gutter brush from the local hardware store , cutting it to length using my trusty wire cutters (4″ to 6″) and then sticking them to base’s.
A very liberal spray of colour primer followed by spray adhesive once the primer was dry before sticking the ground flock/clump foliage to the brush.
Many hours later after the glue had dried sealed the foliage in place with diluted PVA glue to help hold in place and make the trees wargamer safe.
Home stretch
As you can see from the photos above there are lots of areas not covered by the foliage mix I used this took several application to get to how I wanted it to look.
The tree above shows an example of one of the trees after 3 to 4 layers of foliage and matt varnish to hold it all together. However frustrating it has been getting to this stage I feel it justifies the result.
Quick update
Hi All
Sorry for delay in posting pictures of the next stage, slight technical difficulty with my phone that i took the photos on. Things hopefully will resume shortly.
In the mean time i would like to share my views on the progress so far……having assembled the core of the trees and painted the trunks and canopy I progressed to gluing Flock/foliage. This at first appeared to go really well using PVA, Fine up to the point I then sprayed it with my airbrush to add a layer of Matt varnish.
This caused a large quantity of the flock to be “blasted off” the trees leaving large gaps in the coverage…..but this once dry did stick firmly.
Either I did not apply enough glue or I need to adjust the ferocity of the air flow from the airbrush, on reflection also using some for of spray contact glue may have worked better to start with.
This then led to several glue spray stages to finally get to a reasonable coverage I was happy with…a little more time but no other expense incurred
As I had the time I was not to put off by this just disappointed it had not worked first time around which may have dampened others resolve if they were hoping for this to go according to plan.
Moral of the story expect the unexpected to throw a spanner in the works now and then when terrain building.
A quick note on cost
With a large chunk of the trees complete i would like to take a moment to replect on the cost of items used during this project, as the primary goal was to make realistic trees at an affordable price.
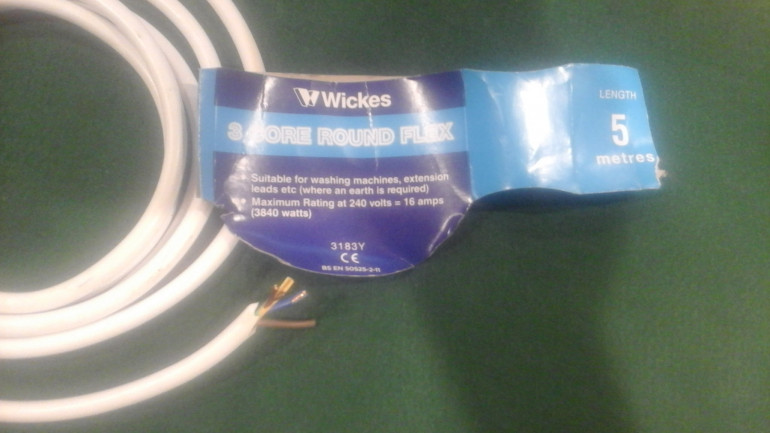
- Three core house hole electrical wire 5mtr £8 (depending on retailer)
- Tissue paper £0.10 (estimate of cost being part of standard roll)
- PVA glue 1L bottle £3 (ebay special offer)
- Paint £4 ( £2 each from hobby craft)
- Poly fibre matting £4 (half for fish tank, half for trees)
- Leaf foliage £6 (50g bag)
Using the items above i have to date made 6 trees from 1.5m of wire, used 1 small amount of PVA probably 20ml , half a dozen sheets of tissue paper, an A4 size amount of poly fibre along with about 1 third of the paint.
This i estimate a total cost to be around £7.50
Divided by the six trees is approx £1.20 to £1.50 per tree ( as size varies)
The same size tree to the same detail can be purchased from retail/ebay for approx. £5 to £10
I will be posting soon to show the leaf foliage picture just as soon as the glue has a time to dry and afix the scatter firmly to the trees.
Stage 4.1
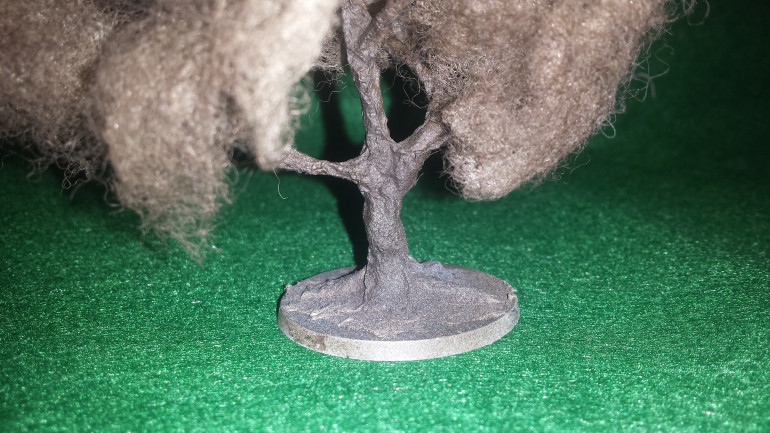
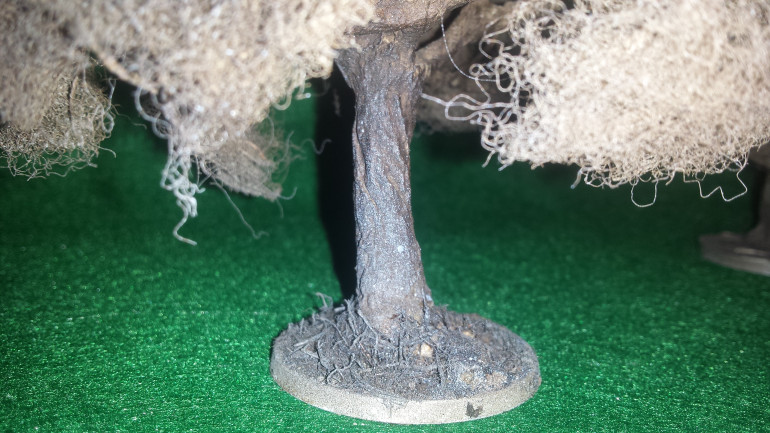
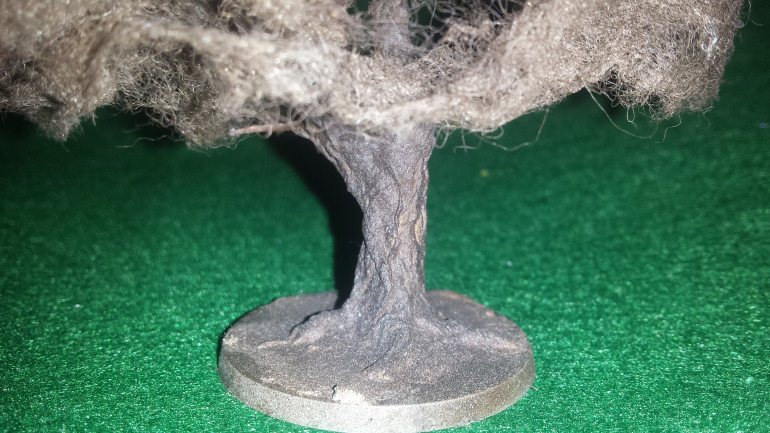
Below are some other photos of detail showing the texture of the trunks after airbrushing over the glue and tissue stage.
This has given a surprised finish, I was expecting to have to texture the bark to make the trees more realistic, but am happy to say i am pleased with this to go on to the next stage of adding leaf foliage/flock.
Stage 4 canopy/foliage
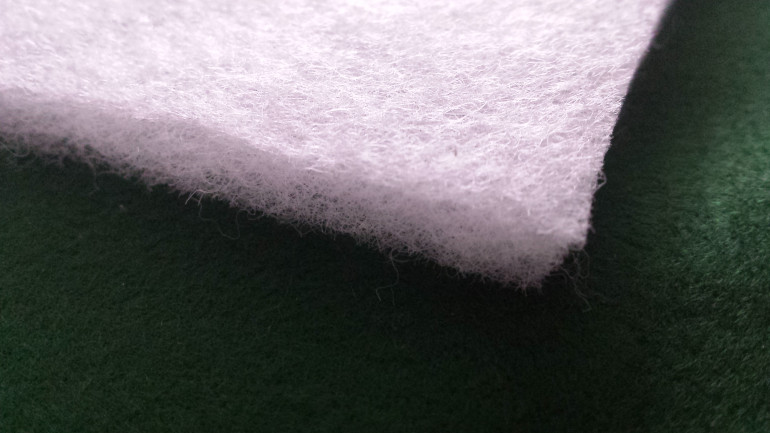
Having looked around the various options to flesh out the tree frame work I was left wondering how some people view the world around them, lots of commercial bought trees are very stylised abstract types of trees and are not really very accurate to the real thing. This does have advantages to wargamers as these type of trees appear to be very durable so less likely to break during use. I in the end sort a happy medium between the two topics of durability and realism opting for a poly fibre base to start then fine foam foliage to bring out the leaf cover later.
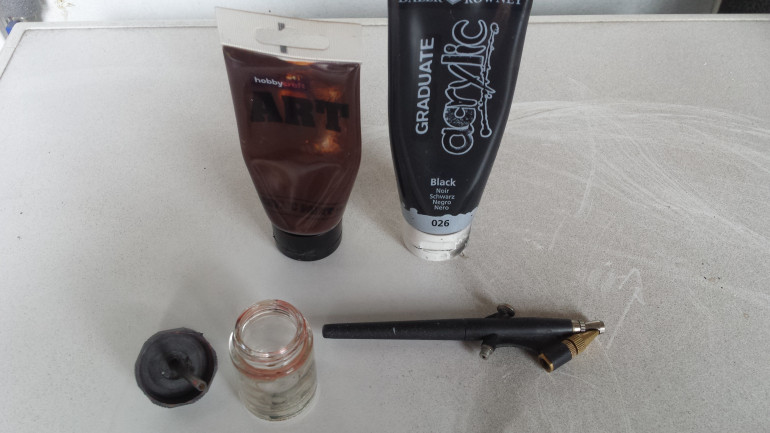
But first i needed to colour the frame and stick on the poly fibre. Good old PVA and some cheap artist acrylic did the job. Paint sprayed on using my trusty airbrush.
Stage 3 construction texturing
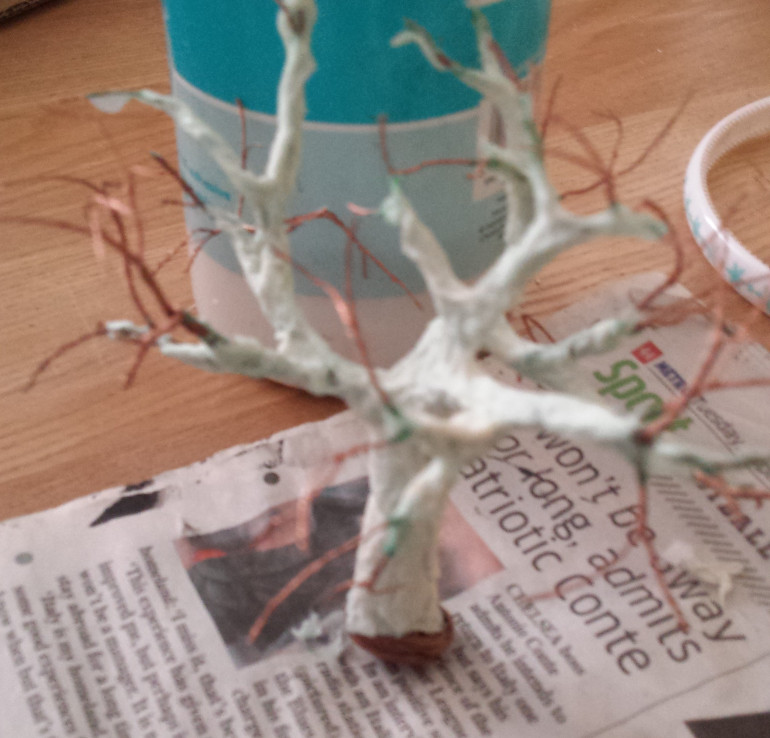
Next up was texturing the framework of the branches and trunk. For this I used toilet tissue, splitting the tissue sheets (two ply) into single layer then tearing in to random shapes and lengths. This was then glued to the frame work with watered down PVA glue. The resulting texture as the tissue absorbs the watery PVA resembles thickly grooved bark.
Unfortunately the picture quality does not show the detail left in the tissue as it drys. I hope this is better shown after painting.
Stage 2 construction full scale
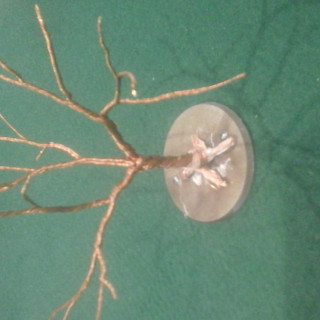
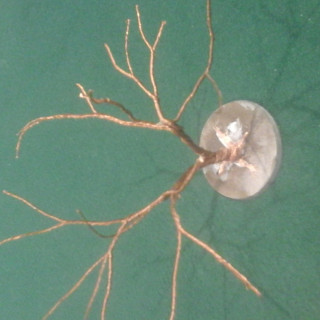
Moving on from the prototype I then started to scale the trees to the size I was looking for. As you will see there is quite a lot of work to get these all done the take approx an hour each , very therapeutic sitting doing this watching TV.
Once you are happy with the overall effect, cut the bottom loop to twist to for root stock and glue to you desired base….i have chosen 50mm as my aim is to use these on a forest base that i can remove the trees to allow units in Kings of war to move freely through the wood/forest.
Stage 1 construction
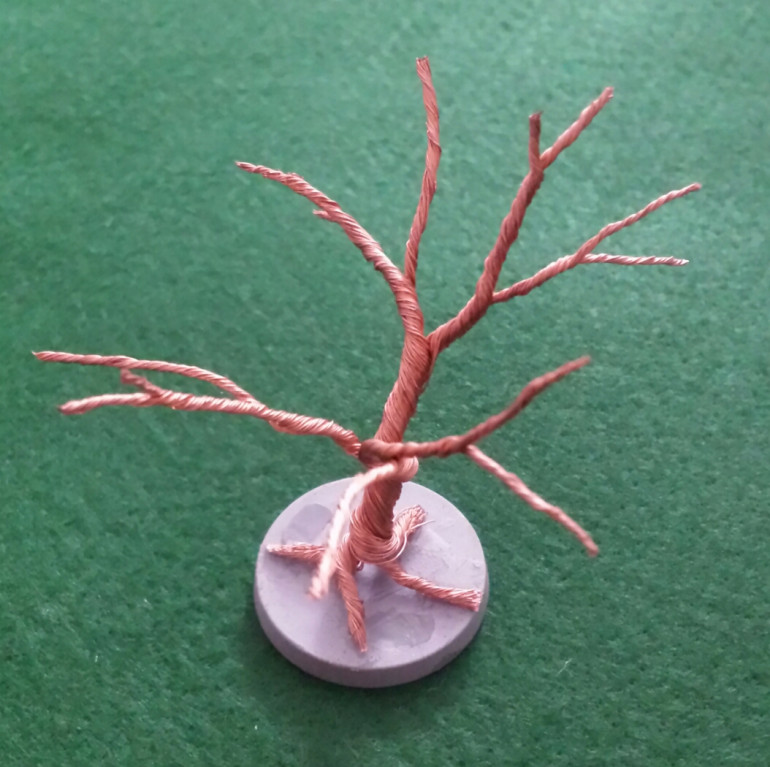
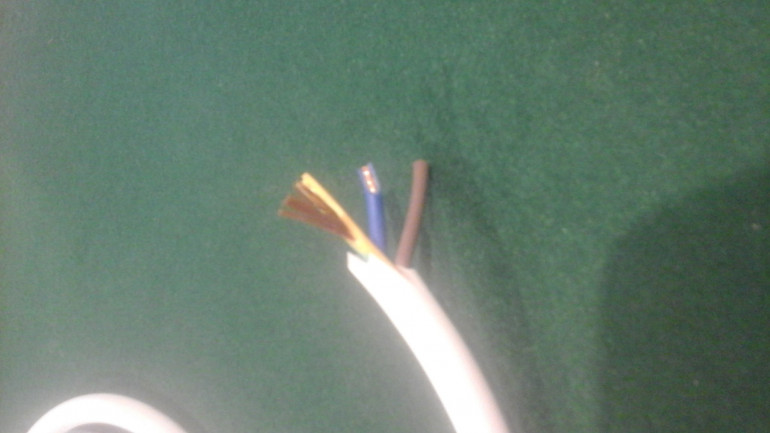
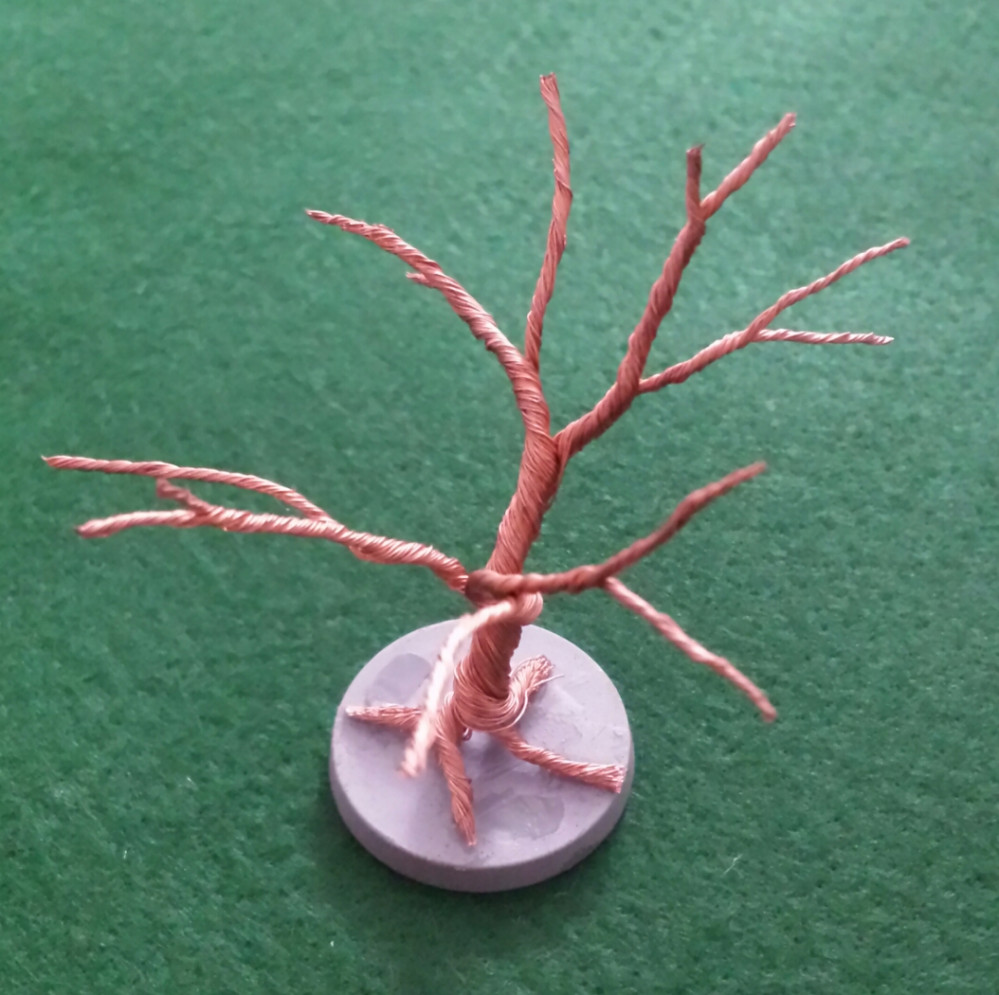
Once all of the insulation from the wire has been stripped the real fun begins. a word of warning if you have soft hands this next bit will make your hands/finger sore. Gather together as many strands of the wire as required…I used three lengths….how long is up to you the longer the strands the taller the tree for a guide as you will be folding these in half to twist together cut to approx twice the height you are aiming on making.
Once gathered together fold in half and twist the folded end tightly together to form a trunk…this will leave a loop of wire at the bottom.
Separate in to other parts to then make the main core branches, twist, separate again gradually forming smaller and smaller branches.
At this point i would like to point out that You tube is a wealth of information as to the technique for making this kind of tree giving much better instruction than i could ever hope to emulate so go check them out for a more detailed example.
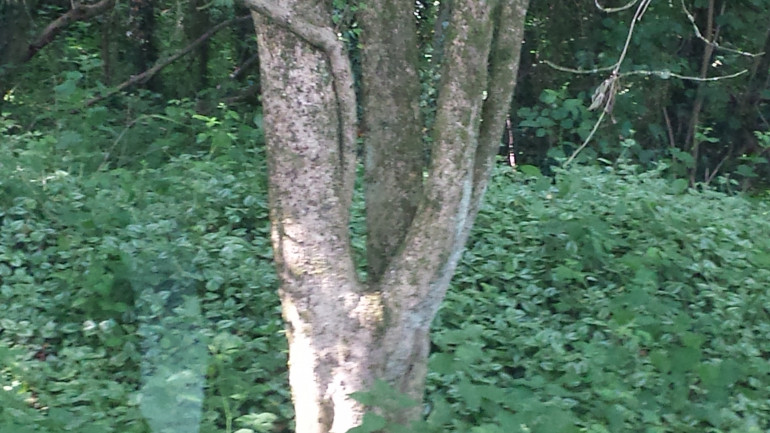
close up view of bark/woodland
So following the idea of using item i already have, the wire used was from a length of cable left over from a DIY /replacement of old wiring for an electrical appliance where the cable had frayed. Like for like so no issues with wrong stuff used.
The first attempt at making cheap realistic trees for war gaming
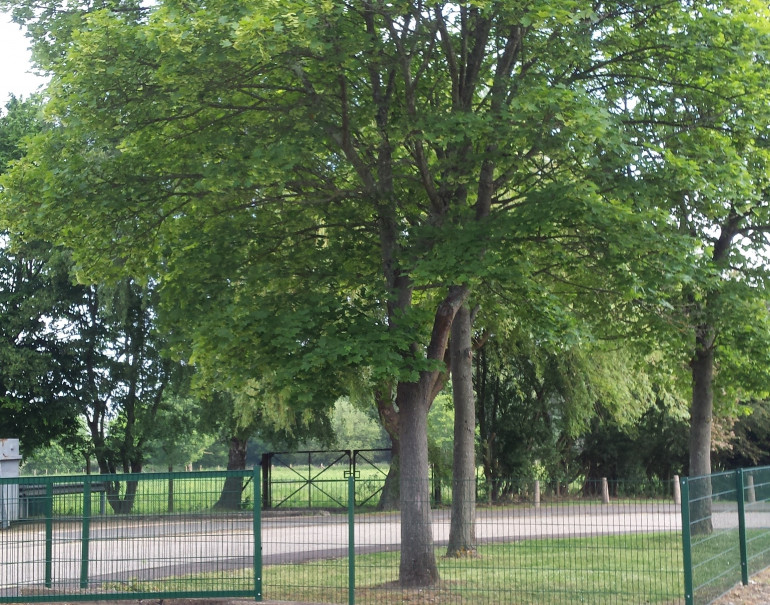
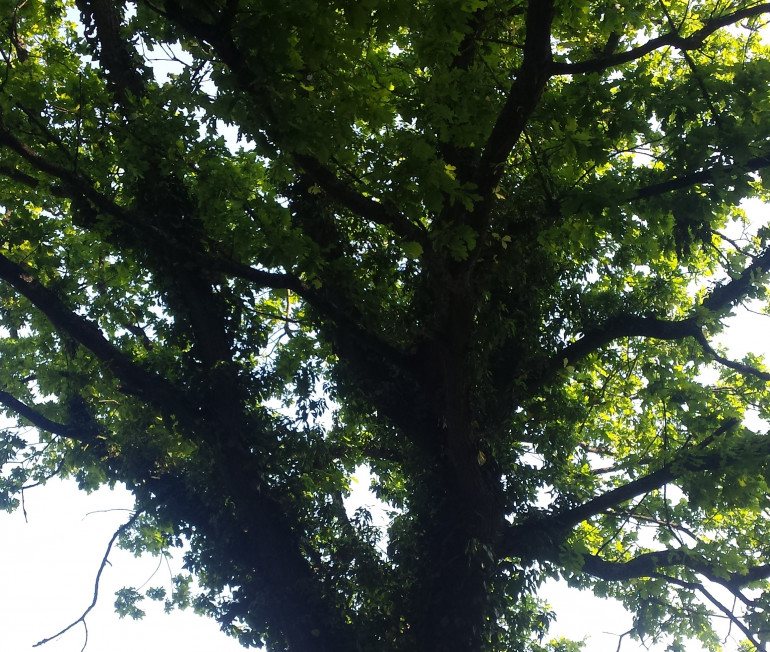
First pictures to show the inspiration I have used for this project to get some idea of what I hope to achieve as an end result.


![How To Paint Moonstone’s Nanny | Goblin King Games [7 Days Early Access]](https://images.beastsofwar.com/2024/12/3CU-Gobin-King-Games-Moonstone-Shades-Nanny-coverimage-225-127.jpg)


