Steelheart’s Champions for Shadespire
Recommendations: 19
About the Project
Painting up the first 1/2 of the starter set for Shadespire to test for a possible larger Age of Sigmar army. Also to test this projects thing.
Related Game: Warhammer Underworlds: Shadespire
Related Company: Games Workshop
Related Genre: Fantasy
This Project is Completed
Getting Started
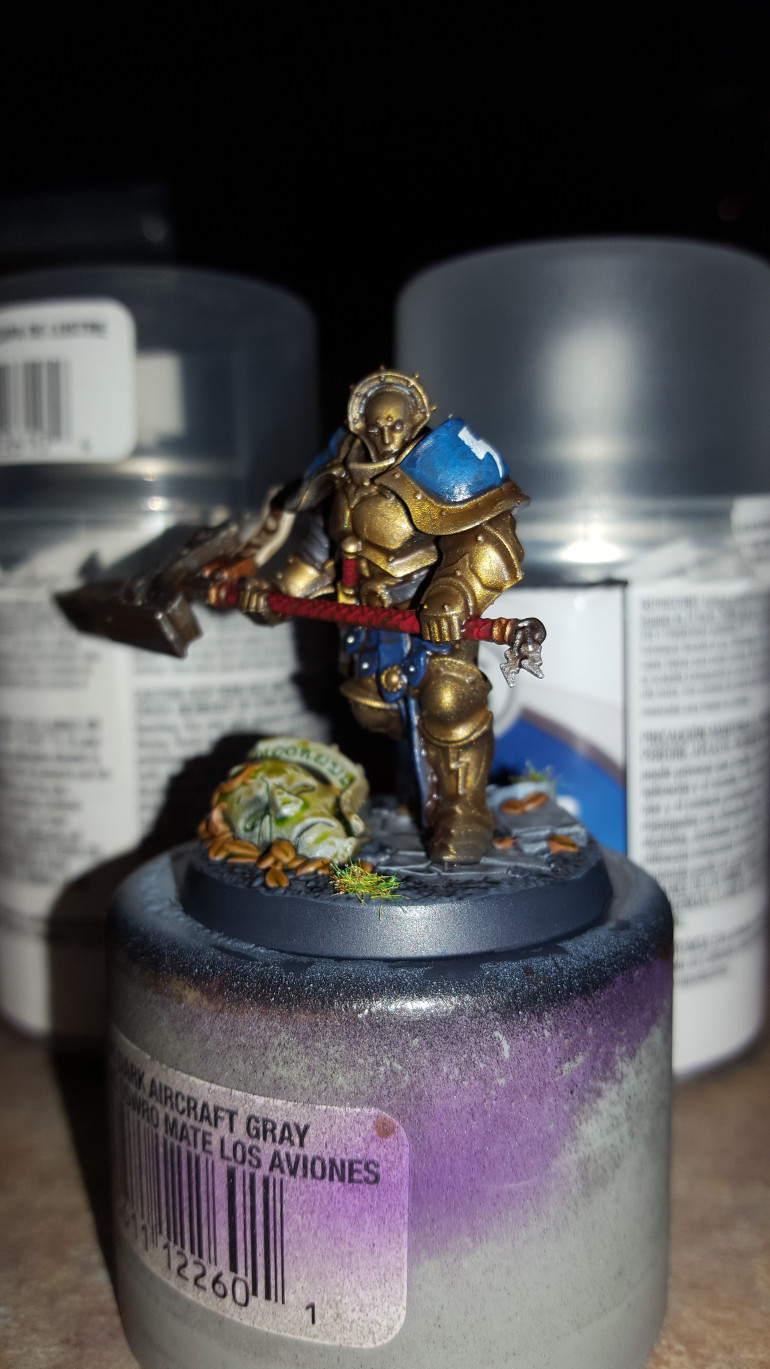
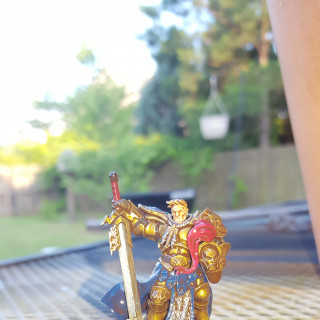
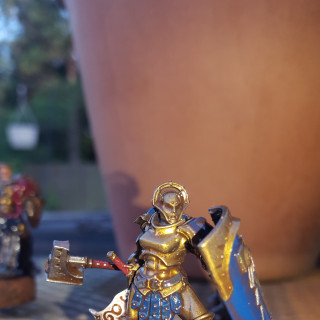
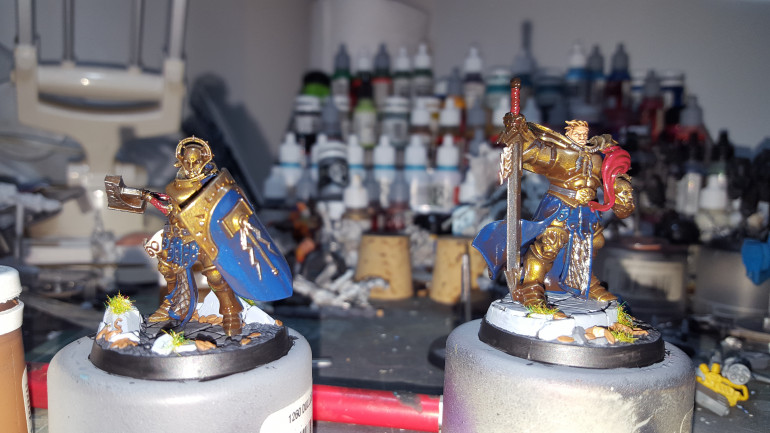
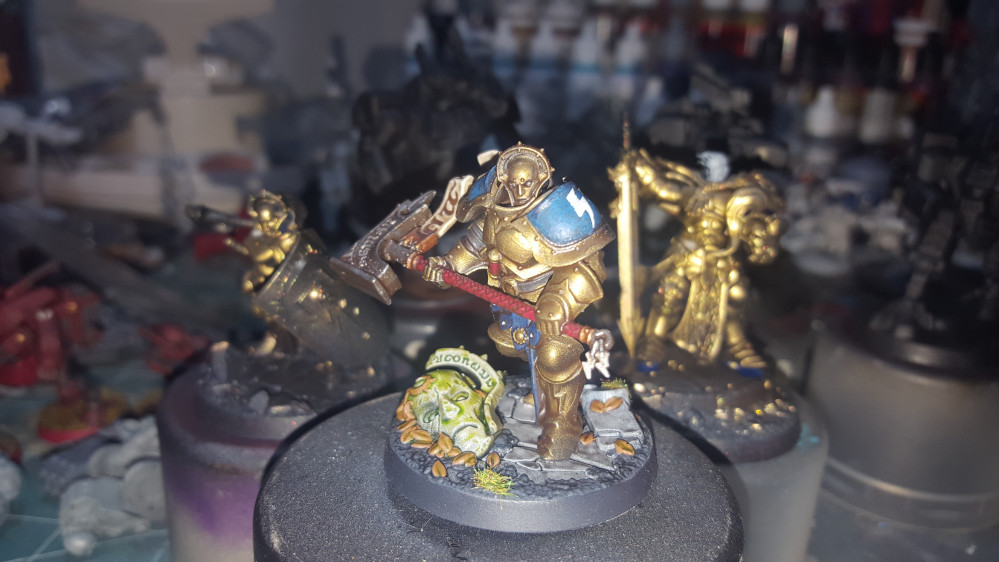
So this is my first attempt at one of these projects as well as starting into Age of Sigmar via the Shadespire game. I first decided what scheme I wanted to go with and decided on the standard gold scheme. I also decided I wanted to try the army painter dip method combined with my airbrush working. So I did up the first model as a quick test over a few days (including a day of drying for the stain). I used my airbrush to get a nice even gold start and then filled in the under armour and belts with a dark gray. I then picked out other metallics with dark gray as well ready to apply the silver over it. I then did the other primary colours, blue and red and picked out the banner on the hammer in brown. Now with the basic colours done I applied some lighter blue shading on the pauldrons and picked out the details on the right one, plus the various hammer details and finished the hammer’s banner with an off white leaving the undercoat of brown showing thru on the lettering.
Just to take a quick break to point out that while these are quick fit models they are still extremely detailed. I stopped buying GW stuff in the early 00’s and I am very impressed with the level of details on these new models, gone are the days of having to do your own text on the streamer/banners they have it embossed into the plastic itself making it a joy to paint and much easier.
Now that all my basic paint was down I dipped the model using Army Painters strong shade. I decided to use the strong over the black/dark shade as I thought it would work better over the gold, providing a nice shade with out darkening or making it look dirty. I should note that I also did not attach the model to the base, as it used pegs I decided to leave it separate so as not to get shade onto it and to use the pegs to grip while shaking off the excess stain.
Turns out those pegs are not nearly as strong as I thought so after retrieving the model from the grass I accidentally flung it into (always stain/shake outside, it’s great stuff but really nasty/sticky) I removed any excess with a whetted cotton swab (wetting it keeps the fibers from sticking to the model) as well as a couple blades of grass. I did this a couple times over the first hour or so of drying as it pooled in various areas that I did not want it to. I then left it overnight.
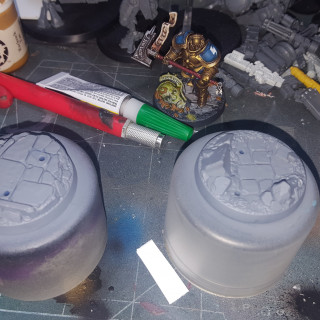
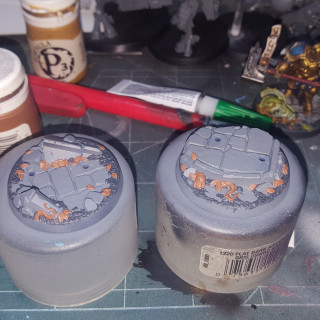
While it was drying I worked on the base, I airbrushed grays onto it to get the basics for the stonework and then proceeded to pick out the details with a brush. I then applied black wash to the basic stonework and an amber/brown wash to the marble of the statue head to make it stand out more. I also applied some static grass to a few spots as moss/lichen to give the base a bit more character.
I love the bases the Shadespire line of miniatures come on, they’re very detailed and thematic for the various war bands and give them some nice character.
Now that everything was painted and dry I attached the model to the base, giving it an hour or so for the glue to dry and then applied a coat of gloss primer.
I always apply gloss and then a 2nd coat of matte to insure a good strong protective barrier and then remove the sheen of the gloss. A secondary effect of this is that if you apply any transfers you want to between the 2 coats it removes those unsightly transfer lines/edges, so having applied the left hand lightening bolt transfer and letting it dry for an hour I applied the final coat of matte and let it dry.
I always do one model of a group thru to completion before working on the others in a group. It’s just a habit I’ve picked up so that I can review the steps and colours used and if I want to change anything. So what lessons did I learn?
- Pegs are week, so I will be pinning the feet of the others so I can grip them instead when shaking (the plastic ones squeezed flat and broke off)
- The gray I used for the under armour etc was to light, as I used the strong stain instead of a black they need to be darker.
- I forgot that my gloss sealant reacts oddly with the wash I used on the head sometimes producing an green tinge to it. In this case it actually looks good to me and gives it a nice aged/molded look to it.
Next up, the remaining two members of Steelheart’s Champions including Steelheart himself!
Work from this Weekend 5/28/2018
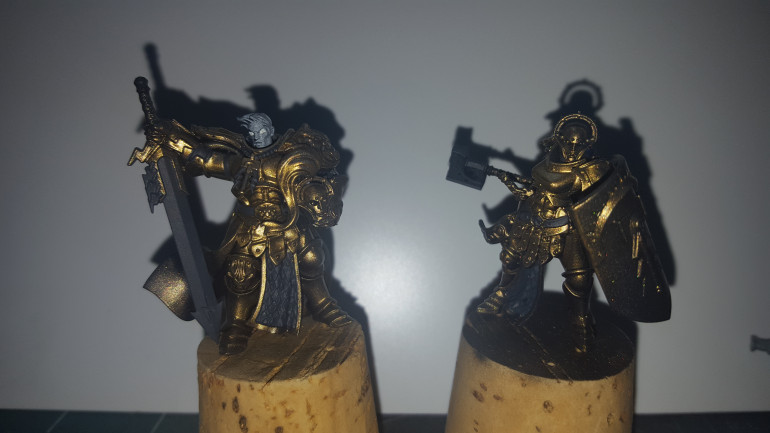
So I got some more done on the other 2 models for the Champions today. I had already primed and airbrushed the initial gold onto them so I started by blocking out the black and metallic parts of the models. I also had masked off the head of one without a helmet on using silly putty (great stuff, I use it as a reusable masking medium as well as to attach models to old rattle can caps for basing etc) to avoid getting gold onto it. Then I blocked out the eyes with white ready for the flesh coat to work them back into the head.
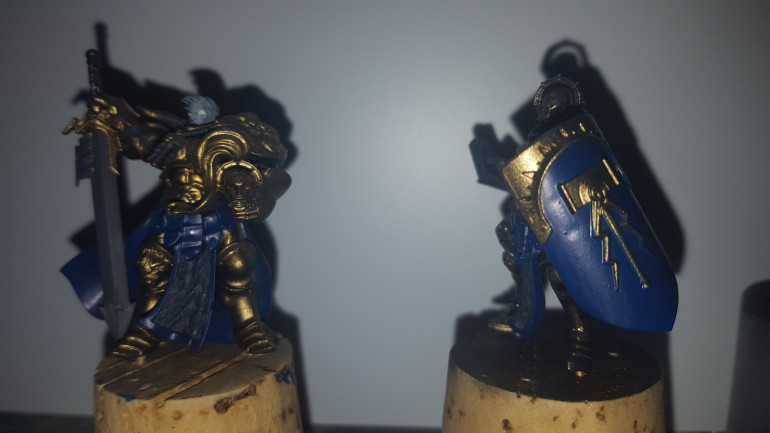
With the black blocking done I proceeded to do the same for the base blue color I wanted to use, this is a much darker blue then I will end up with prior to staining as you always need at least a shade lighter then you want to end up with when using stains, they really drop it down a notch or 3.
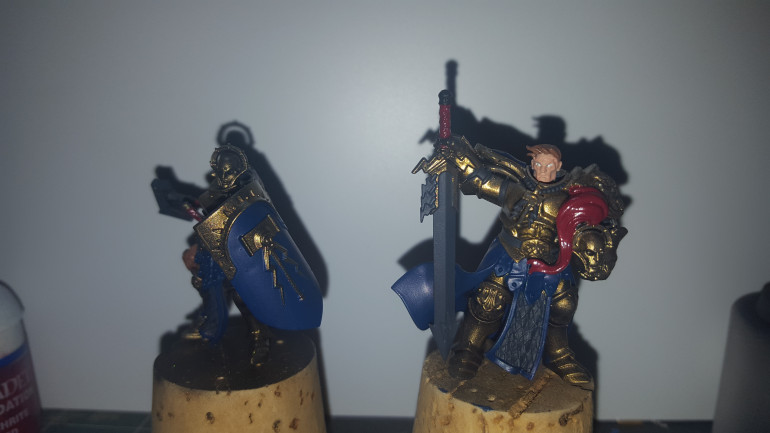
The final parts I had time to work on where the initial coat of flesh and hair on Steelheart as well as picking out the maroon for weapon grips and the helm plume.
I have a con coming up this next weekend but we will see if I can at least get everything done prior to staining them this week so they can dry while I am gone.
Finished
Well let’s see if this saves this time….
I have had this done for awhile now but just getting around to uploading ready for a tournament this weekend.
With the basics done I proceeded to dip and flick the minis using Army Painter strong shade. I find this looks really good on gold as opposed to black.
After flicking (and retrieving a mini from the grass that got loose) I proceeded to let them dry and moved onto the bases.
With the bases I started with a medium gray, picked out the veins, leaves, and skull details, then applied a dark gray under the medium with some light stones on top. After washing I then applied some static grass to the bases as lichen, I like the texture this grants it.
I now attached the model and proceeded to pick out final details and bring up some of the areas the shade had to dark.
With them completed the final step I do is sealing and transfers. For sealing I prefer Testors gloss and dull coats. I apply a gloss coat first for strong protection, then I apply any transfers. With the transfers I like to scuff them with a stiff brush first to make them looks dull/weathered. After they dry I then apply a Dull coat, this makes the transfer look seamless on the model removing any lines etc and bringing down the gloss.
This also means that if your models top seal wears off the Gloss will show and you can hit it with dull again before you wear any paint.
I had an issue with the dull coat frosting a little (rare for me with Testors) and one way to fix this is to hit it with a bit of gloss again and then dull .
As with any aerosols be sure to us light even coats and in a well ventilated area.
I am looking forward to getting these on the table!


![How To Paint Moonstone’s Nanny | Goblin King Games [7 Days Early Access]](https://images.beastsofwar.com/2024/12/3CU-Gobin-King-Games-Moonstone-Shades-Nanny-coverimage-225-127.jpg)


