


Building Sponge Rock Terrain & More!


Working On More Rocks (Guide To Painting & Detailing)
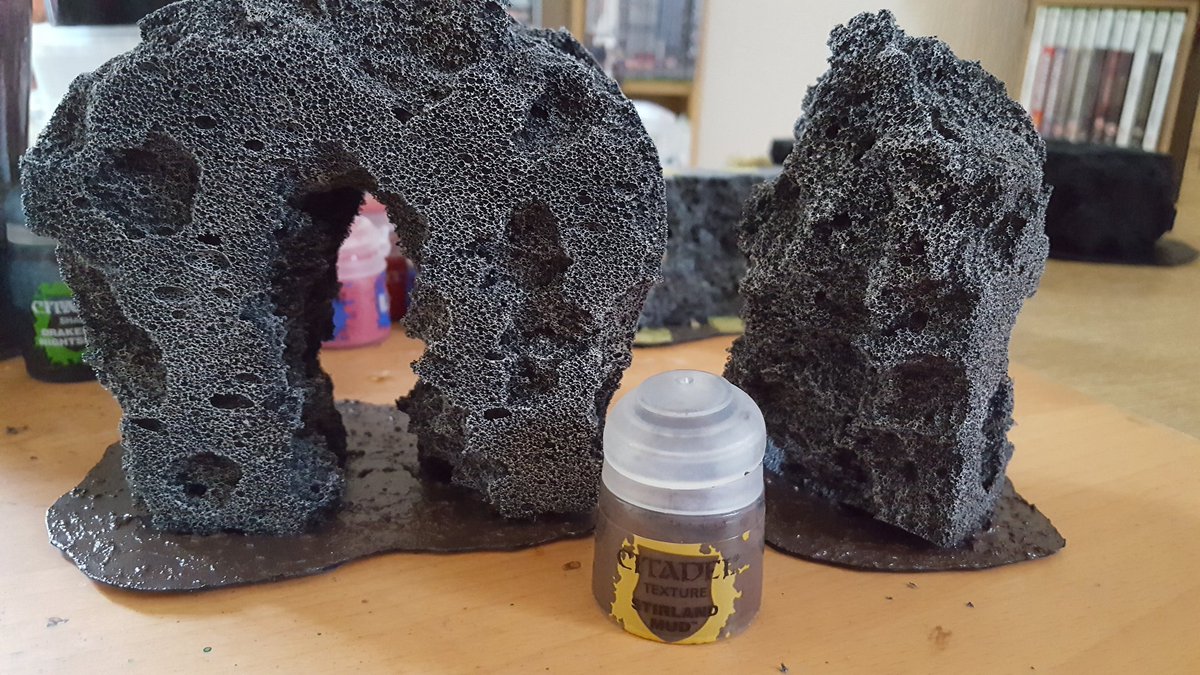
So, I’ve been working on another pair of the rocks that you saw below and thought I would document the way that they come together when painting. The first step is a drybrush of Rakarth Flesh.
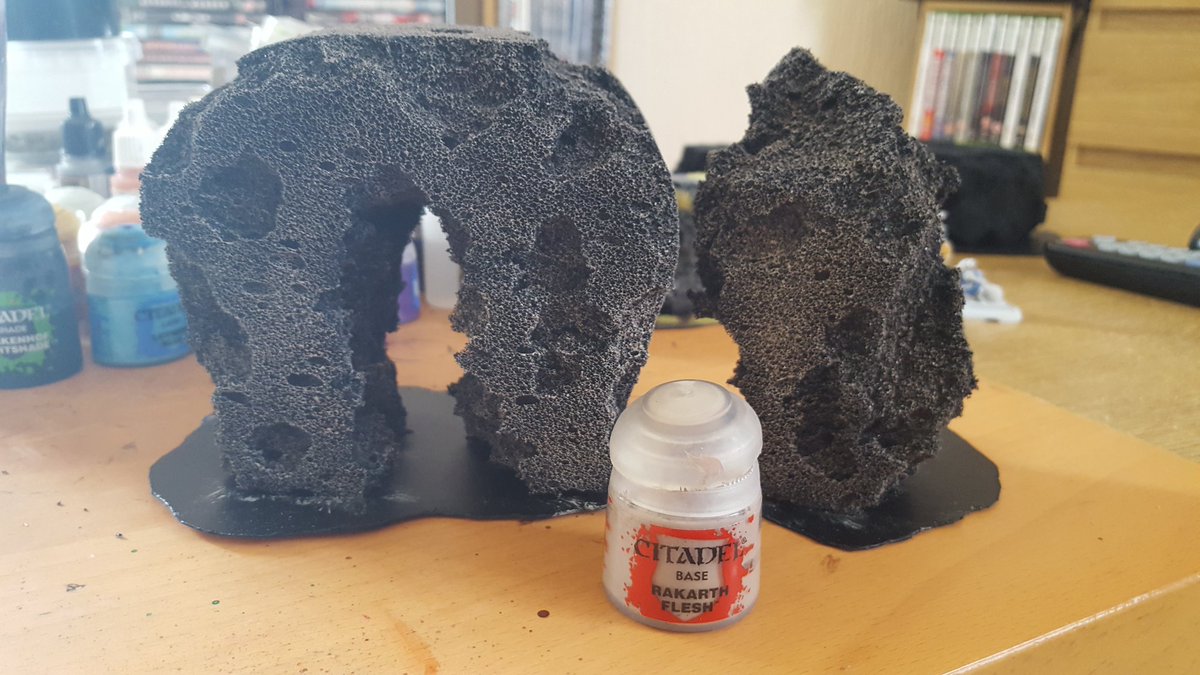
This takes a lot of time to get right as you have to give it a few passes to make sure that you’re not just looking and boring old black volcanic rock.
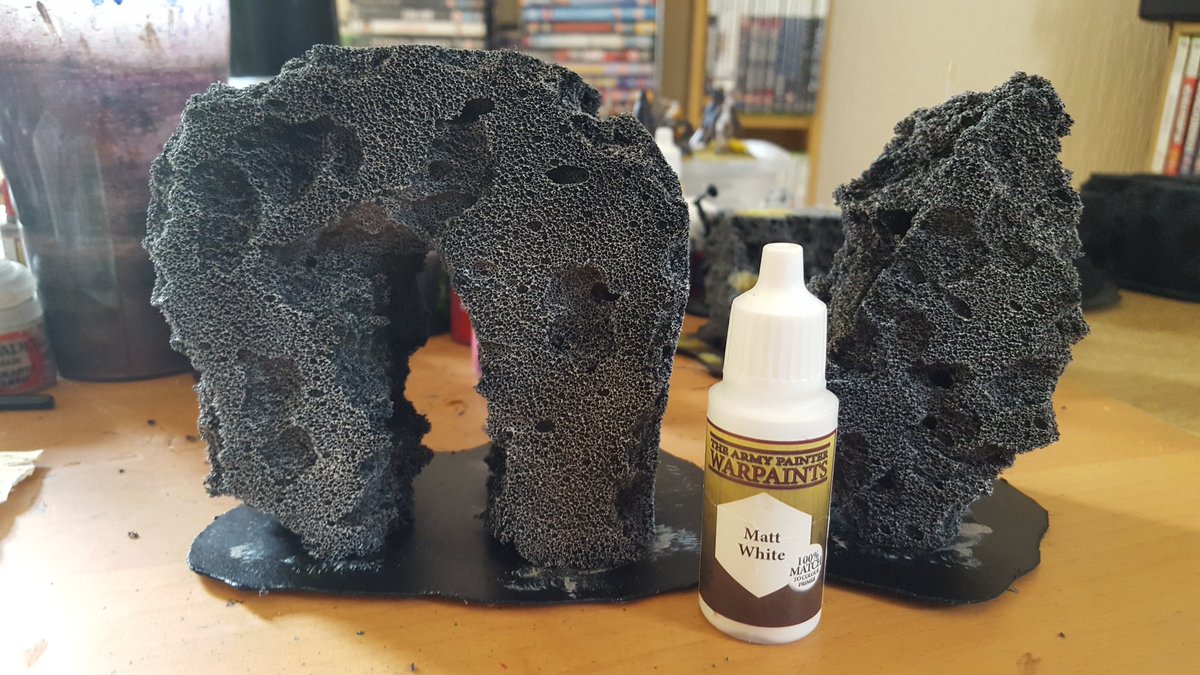
The next step is to then go over this, hitting the raised areas with White.
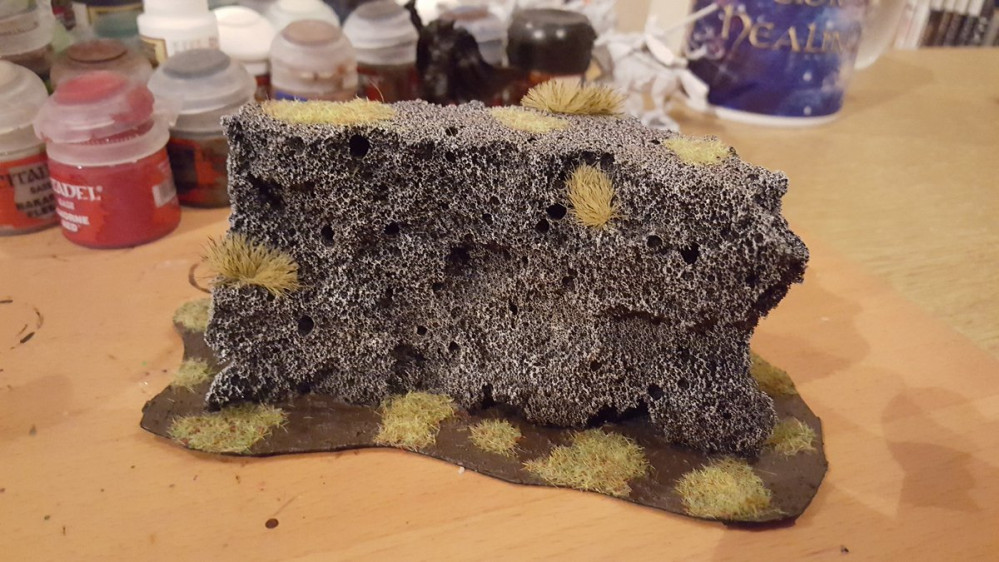
The basing is then done with some of the Stirland Mud that you can pick up from Games Workshop. I apply this with a standard brush although a little palette of some kind…it would be a lot easier!
The final step is to then start working on the flocking for the rocks. I use some of the Games Workshop Static Grass and the Tufts that you can buy from Great Escape Games.
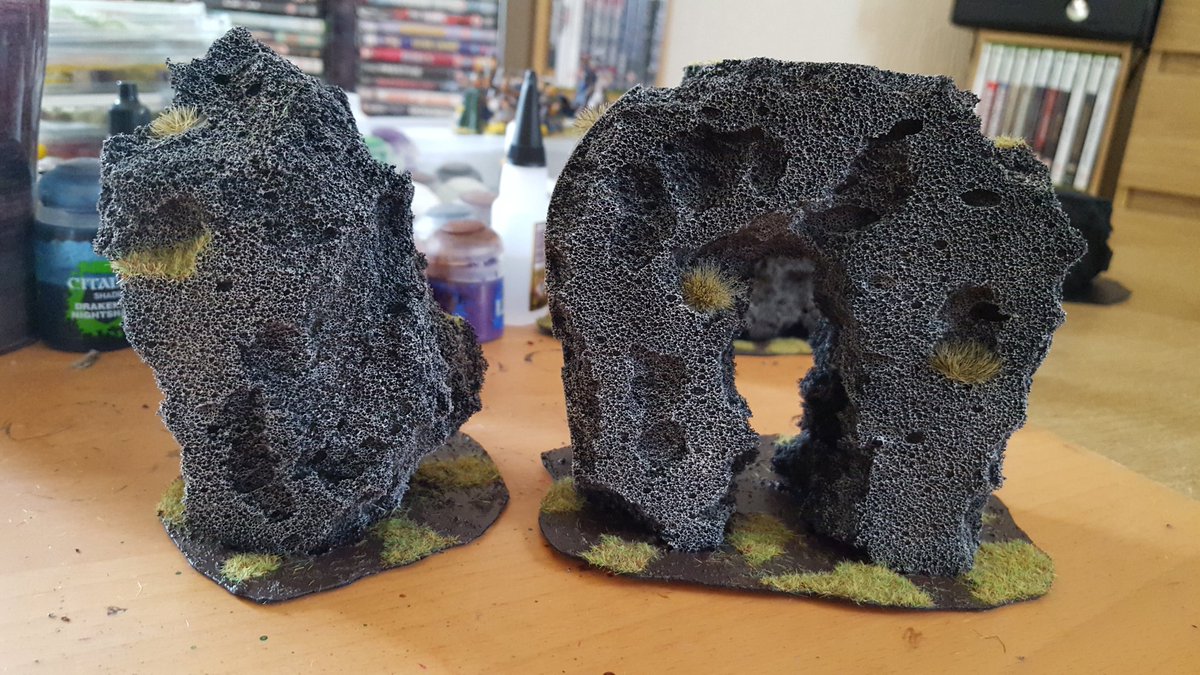
The idea is to create a series of rocks which work as blocking terrain and would be suitable for a lot of different Fantasy worlds.
The rugged look seems to work nicely and they didn’t take that long to pull together. I still think I’d undercoat in a dark grey next time though!


Leave a Reply