Infinity Terrain
Painting the container.
I had it all zenith’d up and ready to go. Under close inspections the paint schemes of the containers are very complex. This is what makes them amazing, so it has to be done!
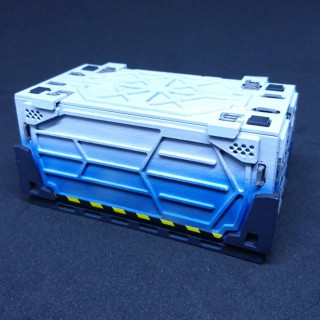
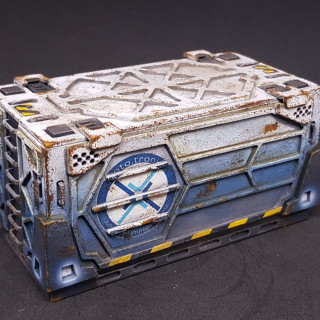
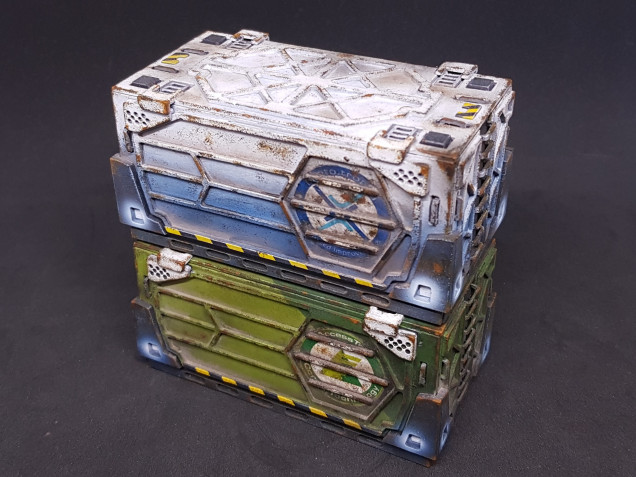
The first one I done was the Mototronica design. This was is in my eyes the easiest one and great for a prototype.
I Sprayed white and then went in with blue at the bottom then went in and picked out all the details with the final colours.
This looked great but when I was done it was missing something. After getting some feedback from WAYPN, I needed to do the logo. I had already painted the thing but I could not argue with good advice.
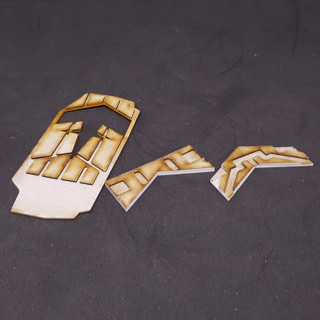
I used the laser cutter to make a template mask that could fit onto the model and allow me to spray a white circle as I knew I didn’t want to freehand this and it’s not cheap to get your own transfers made. I done this also to some of the more complex paint schemes using the waste from laser cutting. These are complex but are a time saver. This could also be done with masking tape or freehand.
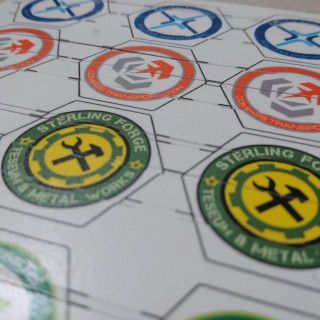
I found this amazing human being on the infinity forms who has recreated all of the logo’s from infinity. https://forum.corvusbelli.com/threads/high-res-logo-vectors.380/
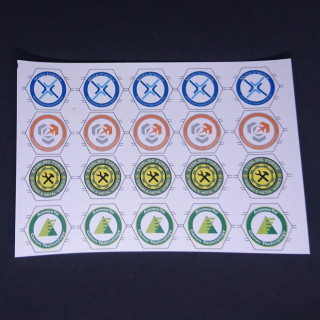
I then scaled these and printed onto transfer paper. I knew I couldn’t place these and just hope they fit so experimented with cutting them into three transfers (this later turned out to be 7).
With some fiddling I manager to get these on and then gloss then matt coated them with varnish and weathered to match the rest.
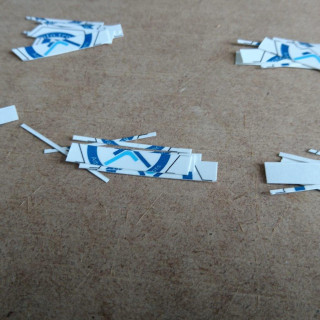
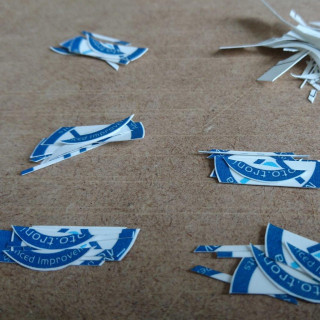
My homemade transfers are great on flat solid things but on homemade containers, not so much. I had to creatively weather them to hide this and try and turn a problem into a feature. Below should make your skin crawl if you like transfers as much as I do.
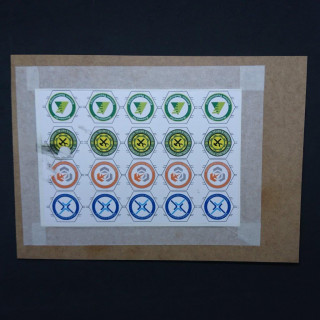
for reference if you are thinking about doing this, this is the process:
- Get transfer paper suitable for your printer, e.g. laser printer or Ink Jet printer.
- Print your design on the shiny side of the paper.
- Allow this to dry and don’t touch it or it will smudge.
- Gloss coat everything in thin layers letting this dry in-between layers. (i used an airbrush but i think an aerosol would be better.
- Cut out then trim to size.
- I used Decal fix but you could just use water. I would avoid any kind of topping that will break down the varnish or the ink will run.
The bellow also takes you on my little production run which is probably why I will make very few of these again in the future.
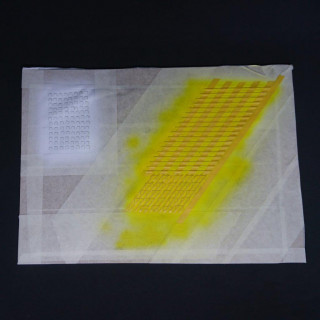
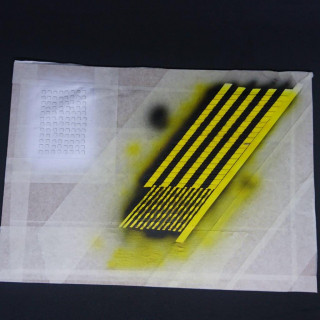
I also decided in later revisions to leave off the hazard tape marked areas and apply them after. This is a paint to do in an individual basis but is great if you do a bulk of them at once. I would advise to make spares if you are ever doing this.
- I stuck everything down on a sheet and reversed my masking tape to be sticky side up.
- I then sprayed everything in an undercoat of white then sprayed in yellow.
- After this I masked with better quality hobby masking tape as pictured bellow
- Then sprayed black.
After this I stuck these on using superglue and was very careful not to use to much to avoid damaging the rest of the paint.
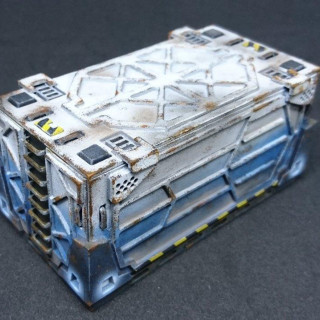
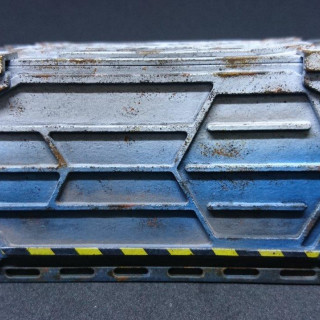
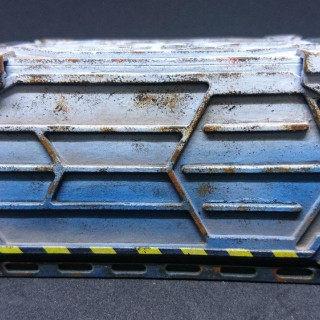
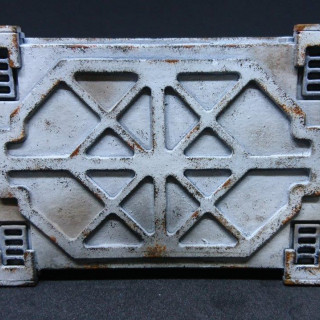
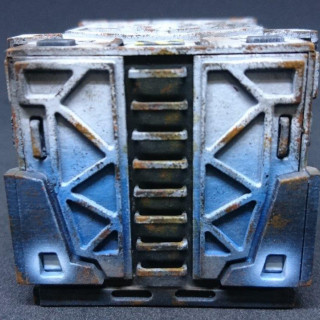
So after making and painting everything as best I could. I washed heavily wiped this off, let dry. Then weathered with orange, brown and black paint with a torn sponge for rust. Last thing was another coat of matt varnish to give everything an even finish.
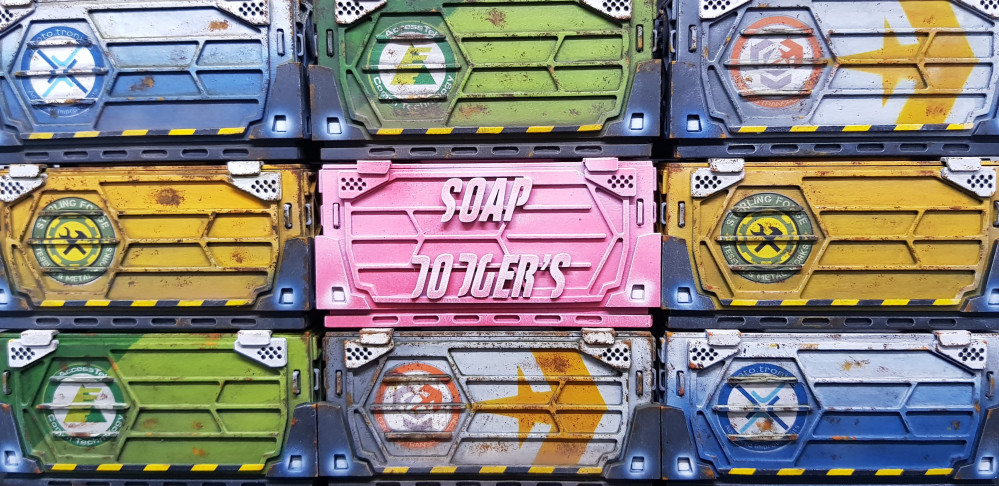
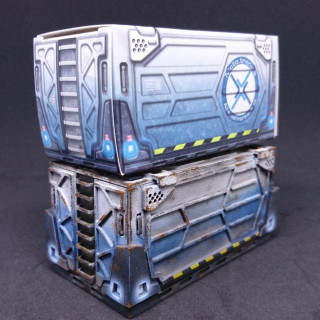
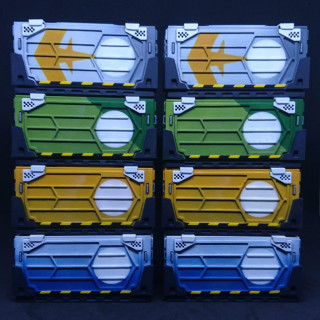
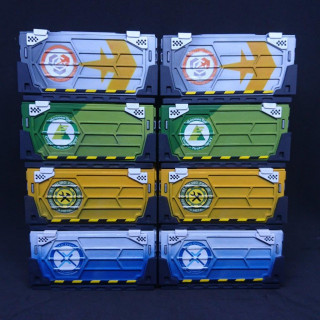
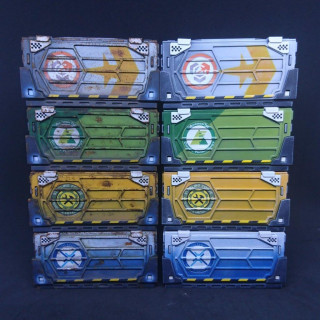
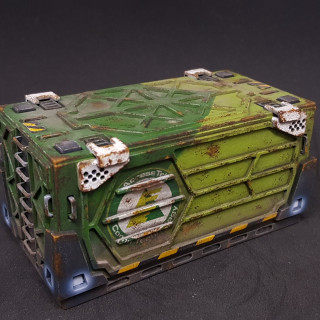
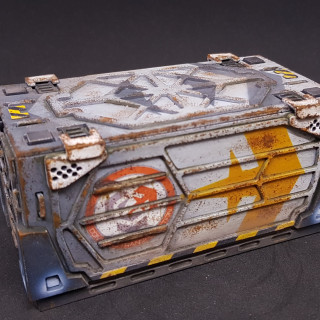
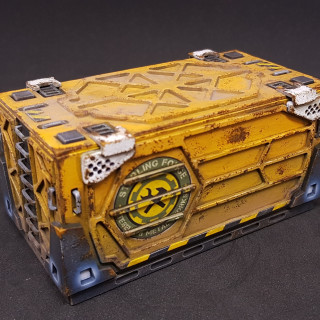
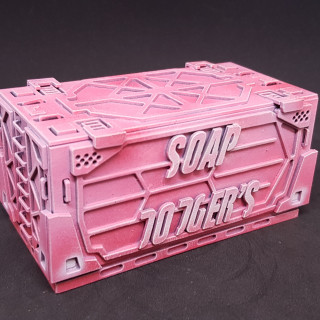
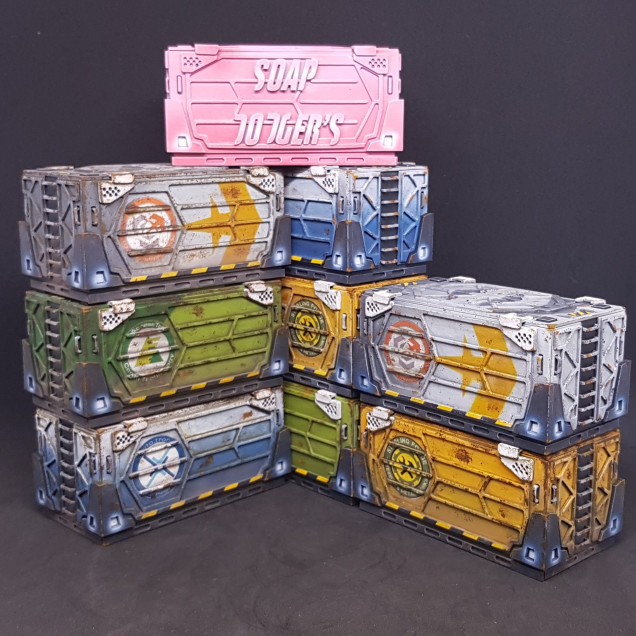
Here is one of each of the ones I have painted so far.
So there you have it all done and I now have great containers to use in my games and can pass on my card ones to get people into the game!
My journey with containers is not over though. I have many more to do to match each of the sets I have. At least I know what I am in for now.
I now feel the need for some power! Powerhub is up next and is actually current!





















Leave a Reply