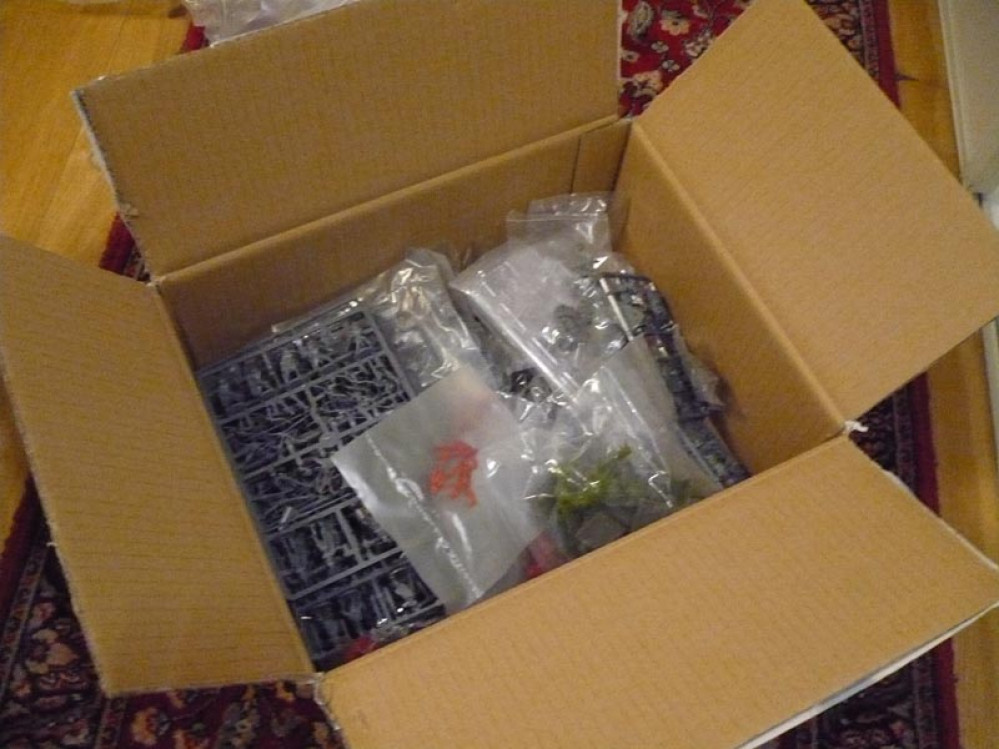
Maledrakh does the entire Mantic Crazy Bobby’s Craaazzy Bonanza Box of Craziness!!!! Complete!
Bobbybox part 2: The Build.
Originally published Dec 31 2017
I have dedicated some of my free time to prep the contents of the crazy box, and finished this today:

I had forgotten exactly how very labour intensive restic prep is. Restic being the term Mantic used for their hard PVC “premium plastic” that came in parts. Lots of tiny parts!
And all those tiny parts having big and obvious mould lines needing the to be carved off. Scraping not being really good enough for this material. Add to that the fact that superglue has some sort of time delay when sticking restic together, needing more setting time than with other materials before the glue grabs. (which maybe just me, but I seem to experience this every time I glue restic, and I even tested it, finding that when gluing resin bits in parallell with the restic, the resin stuck long before the restic did.) However, when the glue has set, it really bonds. I glue one piece at a time and let that set fully before moving on the the next part. This takes alot of time, but is proven to help to reduce aggro as already glued parts no longer keep falling off when trying to glue the next part…
I understand very well why alot of the vocal internet detests restic, and also why Mantic has moved away from the material as better materials and production methods have been developed. It is not that easy to work with, and differs from the more common resin and hard polystyrene plastics significantly when it comes to preparation work. I find it prepwise has much in common with the white metal miniatures used to be made of, and many smaller companies still use. Both need washing, and both are a pain in the backside to prep…
I find the main difference that Restic is light like plastic and therefore does not generally need pinning, where almost all metal parts need to be pinned. (Pinning = drilling a hole into each part and inserting a short length of wire (I use bits of paperclips) “pin” that acts as a strengthening plug that keeps the parts together when glued) Also, restic needs carving or slicing to get the mould lines off, where metal usually just needs scraping. One thing restic has going for it, is that it can be bent or reshaped somewhat when heated in hot water. This helps alot both in assembly of parts that have warped slightly when pulled from the moulds. Whilst metal is just a big no-no in that regard.
And now my work surface is covered in itty bitty plastic chips and slivers that go everywhere…at least they are not as sharp as some metal offcuts get.
However, I think that restic has a worse reputation than it deserves. Considering that the restic production process made it possible to produce miniatures with undercuts in a “cheap” plastic material without the prohibitivly expensive milled steel moulds hard polystyrene plastic need.
Now it was possible for Mantic and other small miniatures companies to have almost metal-quality three dimentional miniatures made in large quantities without breaking the bank on either material, mould productions costs or even shipping costs. “Almost metal quality”…yeah, some restic minis are much better that others in that regard…I found the minis in DreadBall Extreme to have higher quality details than, say, the minis of Dreadball season 2 or even first edition Deadzone.
I believe it would simply not have been possible for Mantic to make such a variety and amount of miniatures at the prices they did without this new restic material becoming available at the time.
However, I also believe that restic is now a material that time has moved on from, with newer PVC materials and processes making better minis with much better details, such as seen in Blood Rage, Conan, The Others, and even Mantic’s own Star Saga and Walking Dead games. These minis are superior in every way, also coming preassembled or as single piece castings making prepwork for the most part a lot easier.
No wonder Mantic is getting rid of alot of restic in the crazy boxes…
After removing mould lines and general fixing upping, all the parts needed washing. Some lukewarm water with a couple drops of washing up liquid and an old toothbrush later:

The astute reader will notice that I have taken several of the Dungeon Saga minis off their bases. This is because of the default positioning not being centered and therefore looking a bit strange. When I did the original Dungeon Saga minis some time ago, I could not be bothered to fix this as the plastic is quite hard and the parts quite thin and prone to snapping if care is not taken when cutting the mini off of the base. There were simply too many minis to do.
This time around, I took the time to do them properly.

After cutting the mini off of the base, I drilled a hole into one foot, lined it up where I wanted the mini to stand, and drilled a matching hole in the base, inserted one end of a paperclip in the foot and cut this to be a few mm long.
Then, since I eyeballed the holes in the bases, it turned out that I often had misjudged the angle slightly leading the minis to have one foot slightly in the air, and I therefore needed to hold the minis down while the superglue sets. I have some of these extra strong clothes pegs for such tasks.
Apart from the Dungeon Saga minis, none of the minis in the crazy box were supplied with bases, if we forget about the Dreadball bases, only one of which was used for the Refbot.
I 3D-printed out a bunch of my own lipped round bases for older mantic minis,
I found that a few of the minis required special treatment, such as the Plague Hounds:


I thought just using a 25mm round looked odd with these, and from the earlier ones I painted back in the day, I know that they are a bit prone to tipping because they hang over the edge of the original 25mm round bases.
So I made these. 35x25mm oval bases. Note I placed the hole slightly off center as the minis themselves are a bit to the side. This worked perfectly!
Other stuff I did was to use some hot water to soften the plastic where needed to straighten out bent bits, and also for several of the doubles I had, to change the positioning of arms, legs ect to individualize the otherwise identical minis. This works well both for restic and the other PVC that the Dungeons Saga and newer Warpath minis are made in. I even needed to do this to the main wheel parts of the veermyn tunnel runners as two of them were a bit warped, and all three had holes for the central blades that were too tight. Other minis needed their arms to fit better to the torsos, and the Marauder Trike front wheel bits were completely out of whack and needed straightening out.
I simply boil some water in a kettle and pour it over in a pot, then dunk the minis in the hot water for some seconds to several minutes, depending on the thickness of the parts in question,
Bent or warped parts will usually straighten out by themselves in hot water, the memory of the plastic itself usually enough to fix any noodlespears, wobbleswords or even leaning miniatures.
Both of the tunnel runners unwarped by themselves after being in the hot water for a while, with no pressure or holding needed. Whilst hot and softened, the central blades got shoved in with no problem, then I dumped them into a seperate pot of ice cold water to make the plastic retain the shape I wanted.
Other parts needed to be bent into a new shape, so I held them in the position I wanted and put them into the cold water while holding steady a few seconds before releasing them. Then the restic stays how I want it. It is important to let them both get heated then chilled *all the way through* for the new shape to take properly, or else the plastic might unbend somewhat over time.
As I said above, this method works for PVC plastics such as Restic, “board game plastic”, Reaper miniatures’ Bones and some types of Resin.
However, you can’t do this with HIPS plastic (or metal), as these materials need it to be rather a lot hotter before softening. Literally flaming hot.
Speaking of HIPS, I built those up as well.
Here is the complete miniature count of the crazy box prepped and ready for their two thin coats of primer:

That is actually a lot of minis. And the flaming cows are missing their base as I need to take some measurements and print one out for them.


Leave a Reply