Osbad’s got gas(lands)
Recommendations: 104
About the Project
Gaslands cars, terrain and gubbins. An adventure in recovering my lost childhood by playing with Hotwheels and Matchbox cars whilst pretending I am a serious gamer.
Related Game: Gaslands
Related Company: Osprey Games
Related Genre: Post-Apocalyptic
This Project is Active
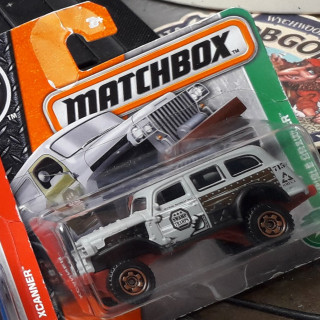
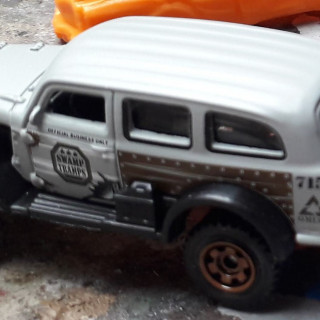
Swamp Buggy
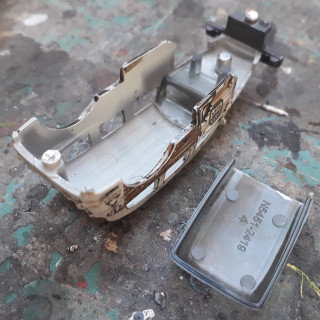
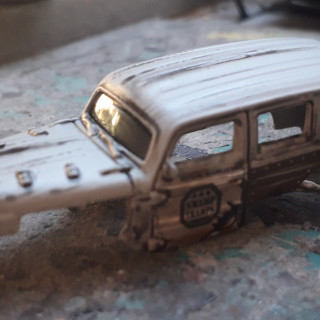
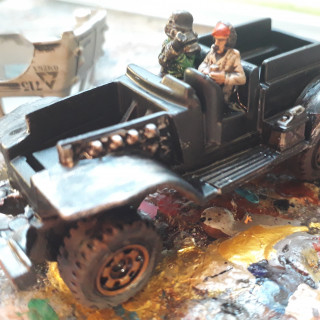
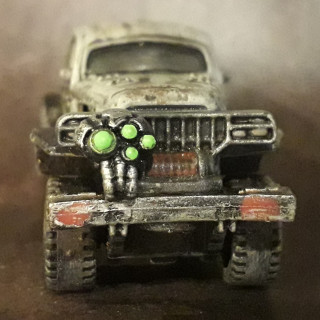
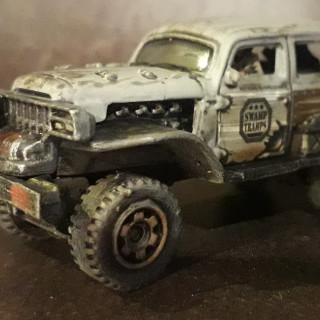
This one is pretty stock. The bodywork was a “matt” rather than shiny, so would take weathering well, and I didn’t really want to spoil the profile with too many weapons. So I just took out some of the windows, gave the interior a simple paint job and a driver and armed passenger riding shotgun. I did add an old “Gar” head from Beyond the Gates of Antares onto the front bumper as this could be an energy weapon of some kind, a counts-as machine gun or a flamethrower or something.
'32 Ford
The next car to cover is a splendid little Ford hot rod. I really couldn’t decided on a paint scheme for this so I went “rat”. I may repaint it brighter in future, but right now this works for me. I went minimalist on the weapon – just a Ramshackle Games forward facing machine gun. See if you can spot it!
Chevelle Station Wagon
I think I’ve covered pretty much most of the bases, so rather than going into the next builds in depth I think I’ll just post them as galleries with limited summary comments.
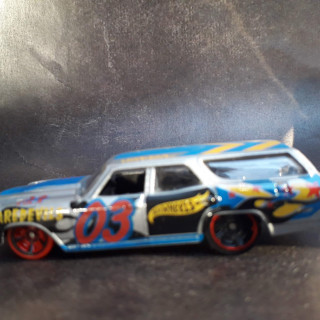
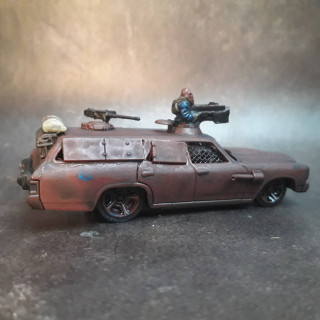
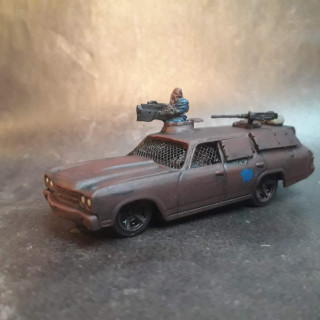
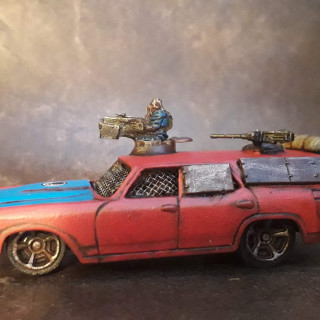
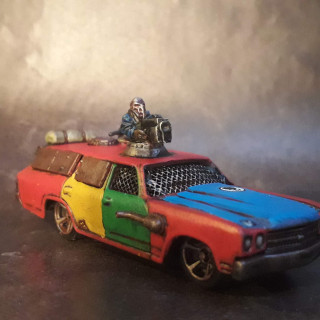
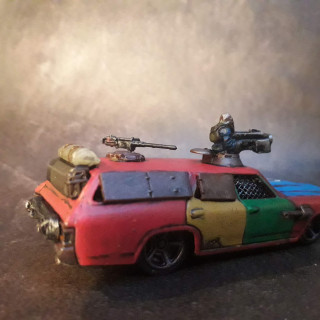
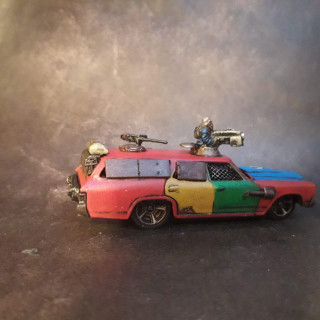
First up is a Chevelle Station Wagon (or “estate car” as we would call it on this side of the pond).
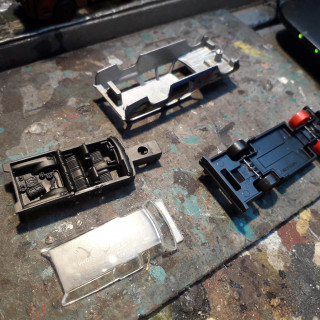
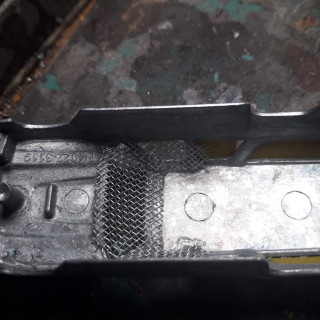
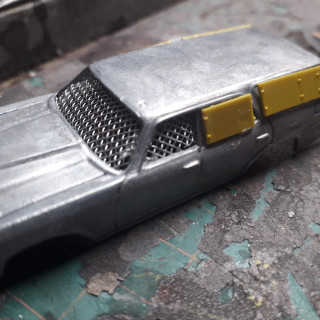
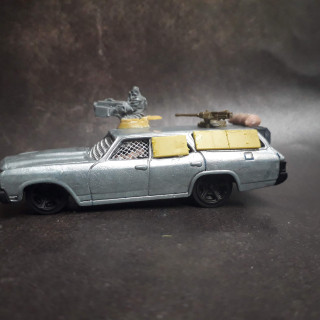
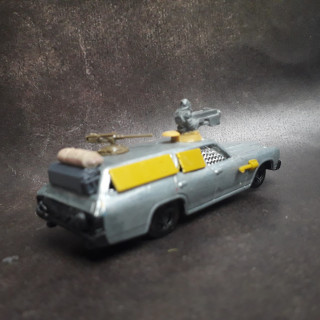
This one I wanted to remove the glass and replace it with metal mesh. During the process of putting the model back together again I decided that the lowrider suspension gave the model an over-loaded look, so I departed from my usual approach of making cars that had the vibe of being specially designed for televised combat-racing in a post-apocalyptic world, I went for a more “survivalist” vibe. I think it worked OK.
As far as I can identify the bitz used are a Ramshackle Games gunner, who is in a turret from a 1/72 Sherman tank, a turret from a 1/72 Panzer IV or Tiger (can’t remember which) with a 1/72 Ma Deuce 30 Cal. machine gun. The box in the back window are from a Team Yankee (1/100 scale) Scimitar tank, the jerry can is also from Battlefront in the same scale. The bedroll on the roof… who knows. It was just in the bitz box! There is also a cable on the rear bumper from another long forgotten 1/72 tank kit, as is the cut down schirtzen, re-used as extra armour for the rear windows.
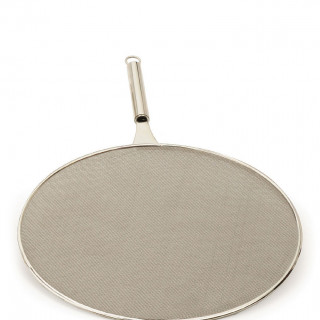
And one final thing. Those wondering where I sourced the mesh from – I bought a “spatter guard” from the kitchenware department of a local store. It cost around £2 for a 12″ radius disk of mesh.
Monster Truck
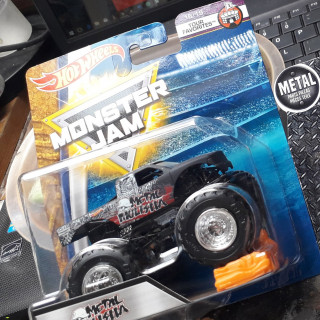
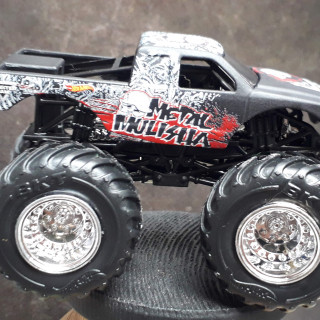
Now, this was a quandry. I had always fancied a Monster Truck for Gaslands as the rules are awesome (You get to drive over stuff!! What’s not to like?!), so when I found one in my local branch of Asda I snapped it up, notwithstanding its price of a whole £7! (Imagine that? £7 for a single model! I ask you!)
I may be being slightly sarcastic in that last comment, but really the price of Hotwheels at around £1 a time is spoiling me, and doing havoc with my sense of perspective. I had started thinking £20 for a single model wasn’t too bad, but I am cured of that, at least for now!
Anyhow, the quandry came from the fact that the model was pretty much ready to use straight out of the packet. I wasn’t planning on adding much in the way of weaponry, and it came with an ace paint job on the body. And I didn’t want to feth up the model by damaging it.
Well, I eventually plucked up the courage. Afterall, this is post-apocalypse gaming, so if I damaged the bodywork, who’s to say it wasn’t deliberate?
Which was when my first problem arose. Unlike normal hotwheels cars, the body shell was attached with a screw not a rivet. So far so good. However the screw had a triangular slot, not a philips head. Boo! So I ordered a triangular screwdriver off ebay for £1. Hooray! But it had to come from China and took a fortnight! Boo! And when it arrived it was too large for the screw!
£$*&!!#!
So out came the drill, and normal service was eventually resumed.
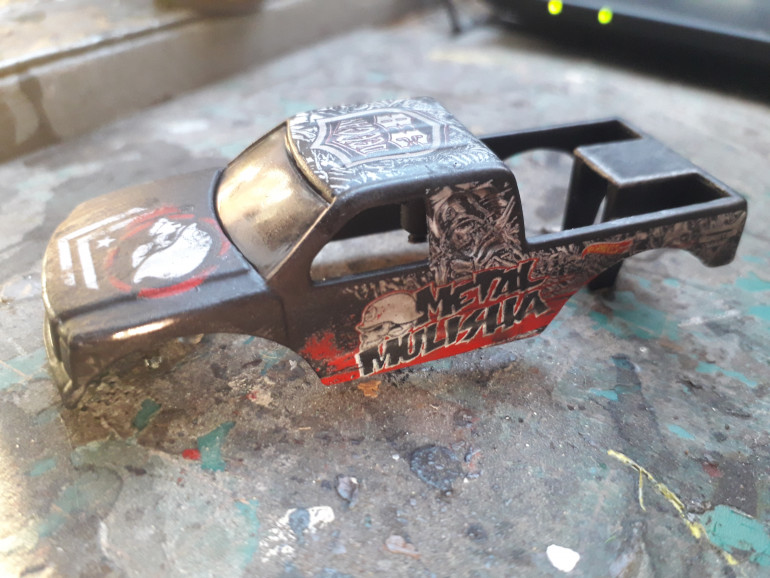
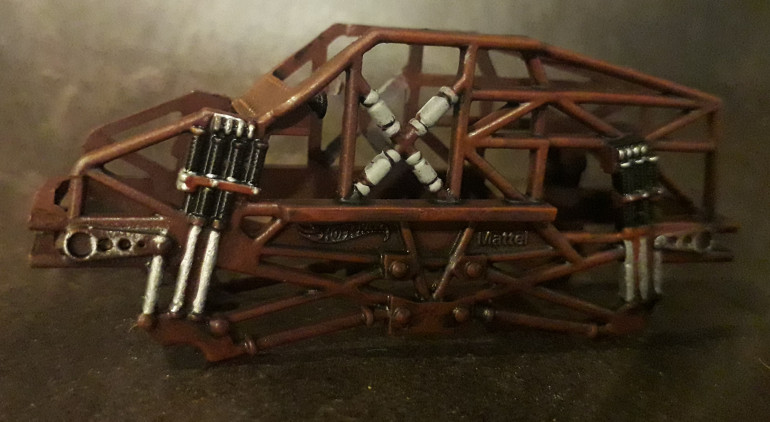
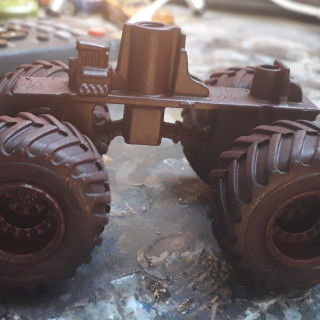
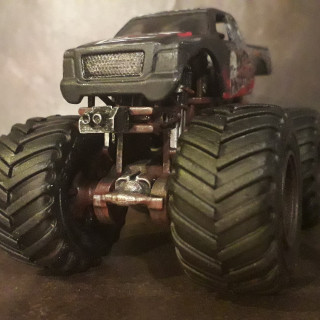
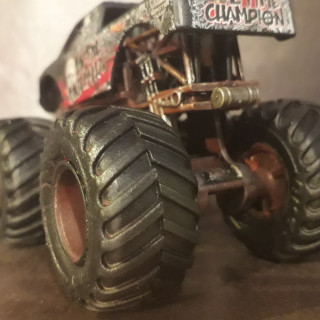
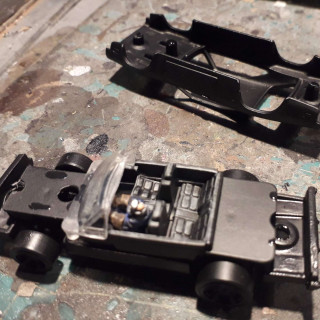
So it broke down into three parts. The body shell, the frame and the wheels and chassis. The body was left untouched – it had a nice matt finish and a great decal, so I didn’t want to do anything but a bit of weathering and pick out some details, so that could wait until reassembly.
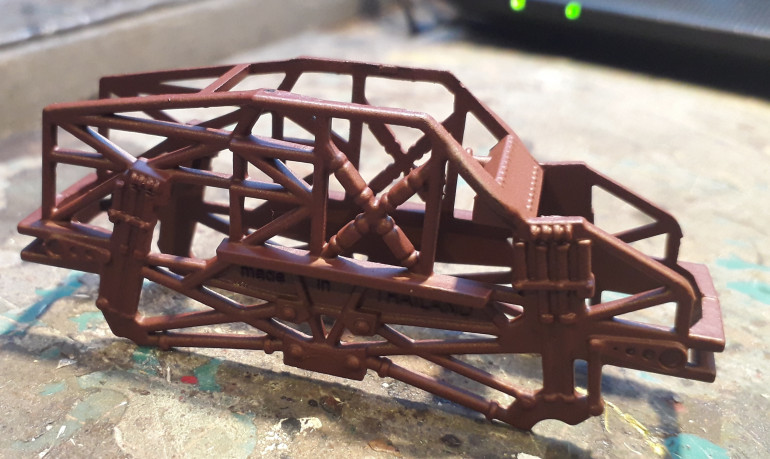
Next was the framework. This looked really cool but came in a shiny black plastic. So I sprayed it with Army Painter Chaos Red, which is a default I have for oxidised steel.
I then picked out some of the detail.
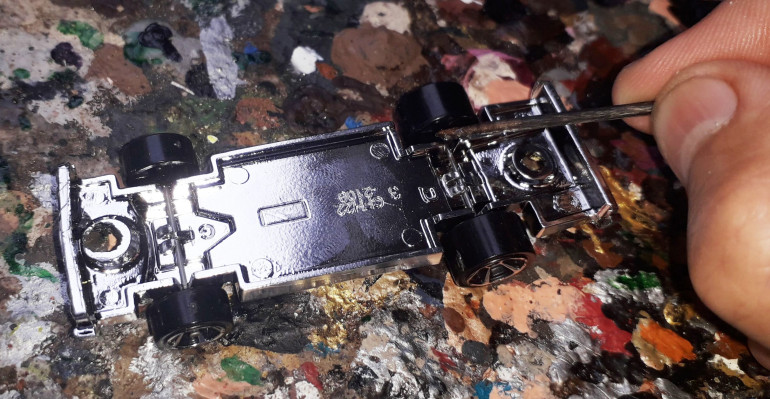
Next, the chassis and wheel hubs were sprayed with Chaos Red to hide the chrome. I did try using bleach to remove the chrome effect, but it only partially worked, and the plastic was still very shiny, so out came the spray.
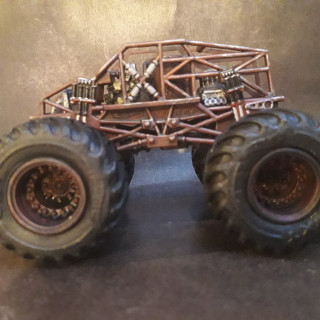
I repainted the tyres black then reattached the frame. I also added a driver, but you really can’t see him unless you peer hard!
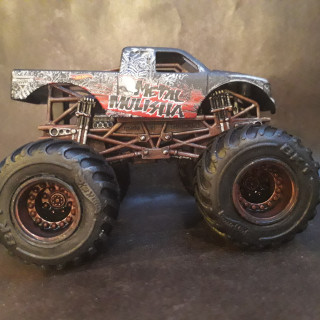
I then stuck the body back in place.
The final stage was some subtle weathering and highlighting (the obligatory wash of dilute Nuln Oil, and also picking out the radiator and some body damage. Then adding a pair of machine guns to the front of the chassis and a canister to represent an oil/caltrop/glue dropper at the back.
Going the whole hog, part the second
So next for attention was the “chassis”. This was a shiney chrome, which obviously isn’t “post apocalyptic” enough really and is probably one of the most “toy-like” and least “model-like” element of the vehicle, so needed some attention.
It is usually possible to remove the chrome effect by soaking the part in bleach for a while. I have tried this and it works, but bleach is nasty stuff as it smells and can easily cause damage to clothes and fingers, so I tend to avoid it personally. But YMMV. Incidentally the paintstripper I use is relatively benign. I use plastic gloves, but that is really just a precaution, as it hasn’t caused any irritation on my skin when I have touched it, and it dries up to a very faint inert residue if left to dry.
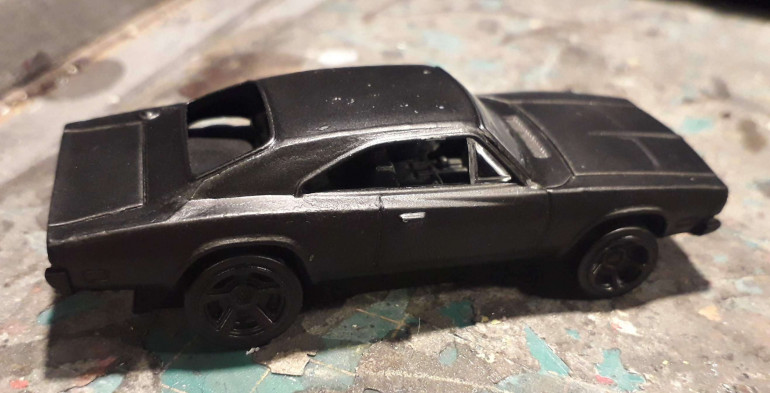
Anyhoo, for this chassis, all I did was glue the wheels in place and then spray it with matt black undercoat.
The next part was the internal cockpit. This was sprayed matt black (it was originally a shiney black plastic), the steering wheel snipped off, and a Ramshackle Games driver inserted. Ramshackle Games models are in a very high relief casting, so they take paint very well. A quick base coat and a wash with Nuln Oil, wiping off the excess, brought out the detail very well at this scale.
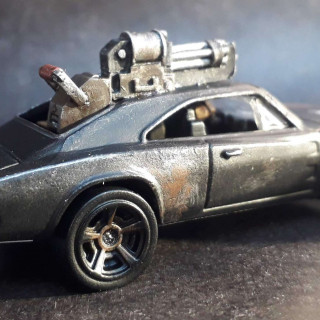
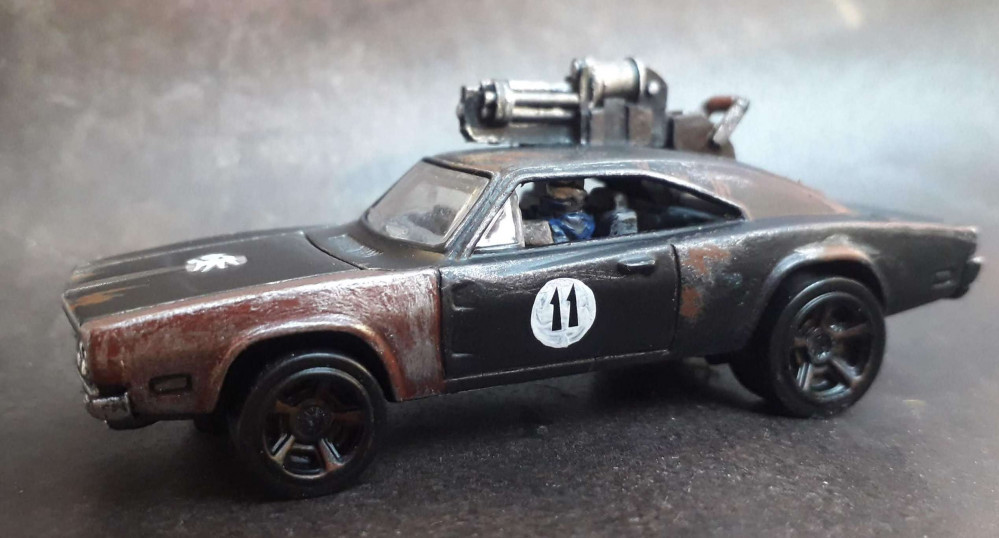
As you can see, I sprayed the body shell matt black, and then reassembled with a couple of dabs of superglue.
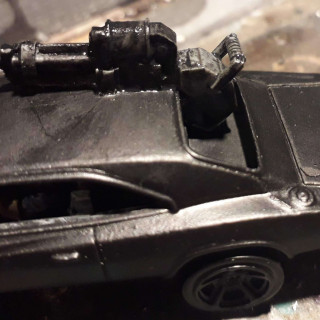
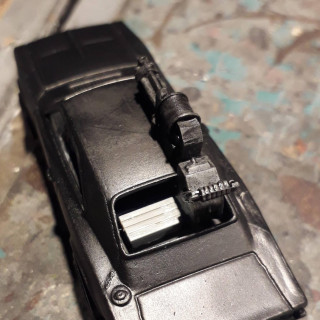
The final thing was to add a weapon. Went for a gatling gun. It seemed appropriate and to fit the style of the car well. I used a Ramshackle Games one with a couple of added bits – some handle gubbins from some old 40k kit, and an ammo box from some old 1:72 WWII model kit. Don’t ask me which.
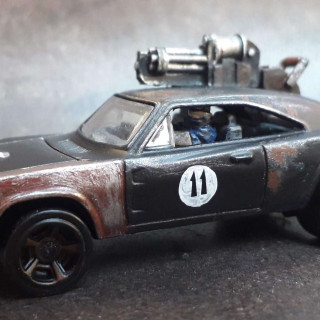
Final stage was to add decals and weathering/highlighting. I went for a rusty metal look. Pretty easy to pull off and minimal work. What you can’t see from the photo is that I highlighted the grill and picked out the head and tail lights. All pretty simple stuff.
Going the whole hog
Time for another post, this time with MOAR FOTOS!
I picked up a Hotwheels Dodge Charger from my local Poundland that was just aching for repurposing, so here we go.
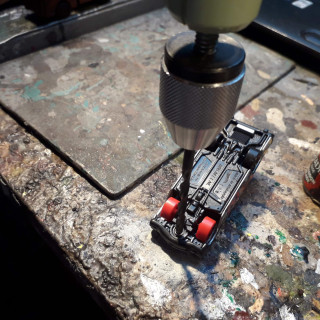
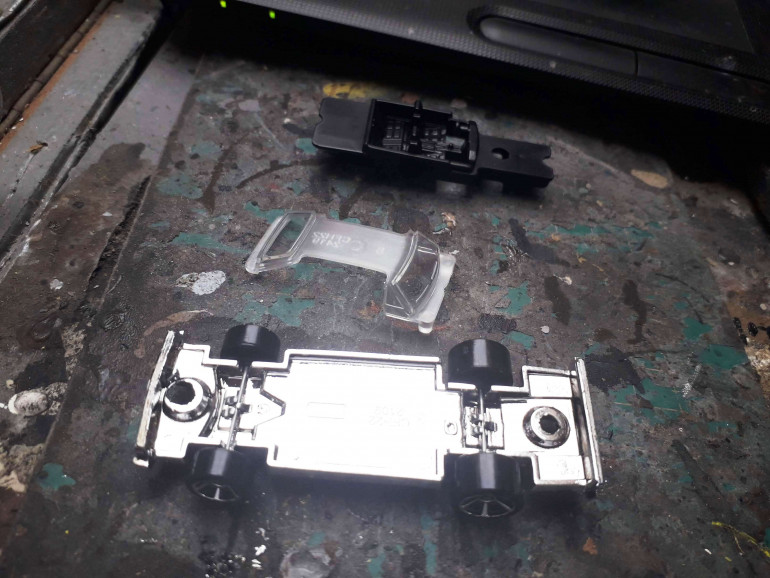
First off I dismantled the car, which involved drilling out two rivets from below. I use a hand drill as it is a very controlled way of drilling and sometimes the metal these cars are made of is a bit fragile and can shatter under the pressure of drilling if you go too vigorously at it. Also I can never seem to remember to charge my electric drill up before I need to use it…
So, having dismantled the car, it is time for stripping. I’ll avoid the predictable awkward humour potential here. But “stripping”… *sniggers*…
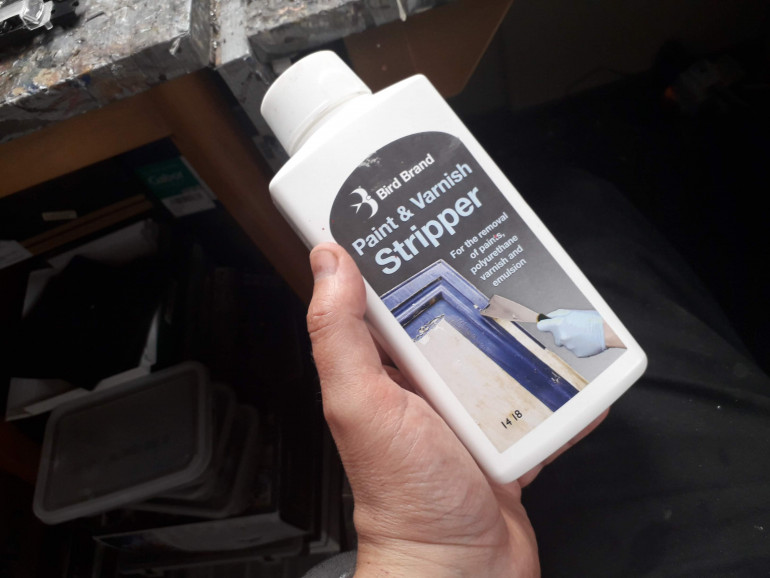
What I use is a bottle of the cheapest paintstripper I could find in my local discount hardware store. This is it.
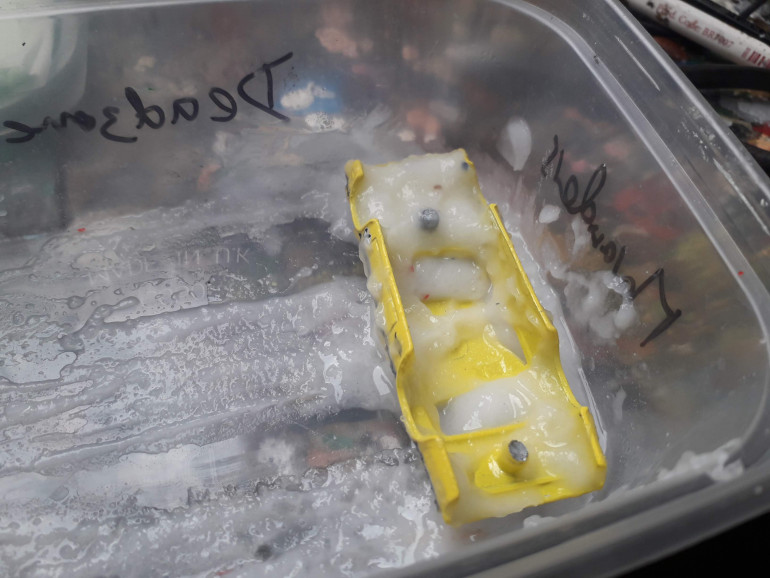
Squirting a generous helping over my car body I left it in an old takeaway carton with a lid for a few hours. May even have been overnight.
Here’s the “before”:
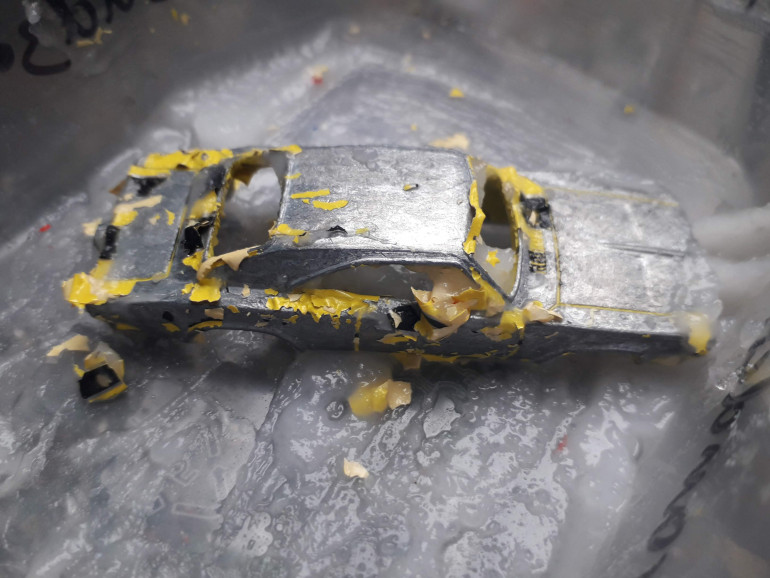
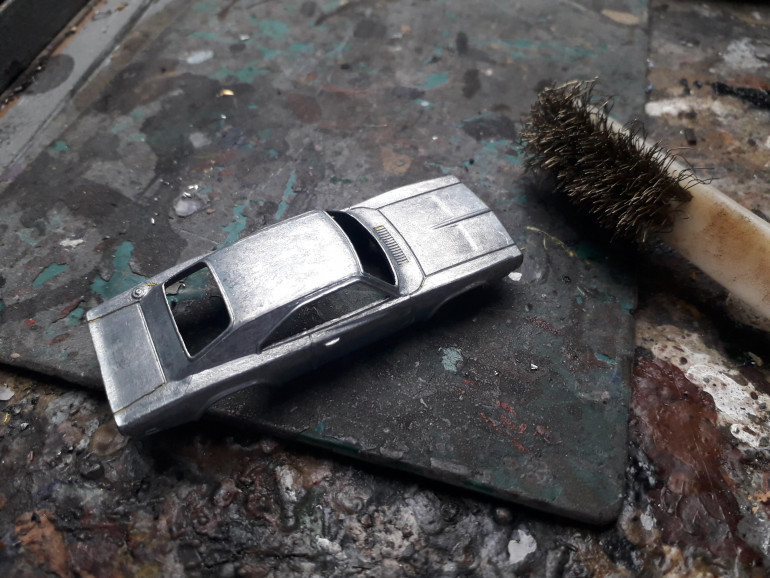
And here’s the “after”:
A quick scrub with a brass bristled brush (try saying that after a couple of pints!) later and we have a clean body shell.
Now, as you can see from some of the previous posts in this PLOG, I don’t always dismantle and strip models. A lot of the time I don’t think it worth the effort. But this time I definitely didn’t want any bright yellow paint showing through and I also wanted to remove the windows. So I thought it was worth it.
Talking of which, it was now time to address the other bits (well, really I did a lot of this while the stripper was taking effect, but for the sake of a coherent narrative forgive the temporal distortion and just run with it!)
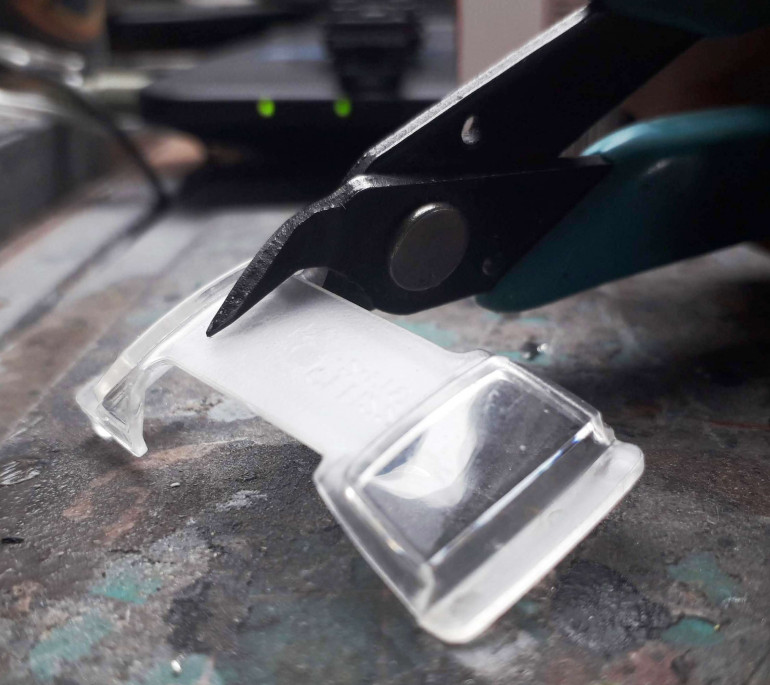
The first thing to do was to clip off the unwanted back part of the glazing piece as I only wanted to keep the windscreen
The van's the man
Well, after scoring a couple of hits in Poundland, I decided to swing by the toys aisle in my local Asda while out grocery shopping. Yes, hunting out minis while doing the shopping is now a thing in my life! Suddenly chores seem less boring!
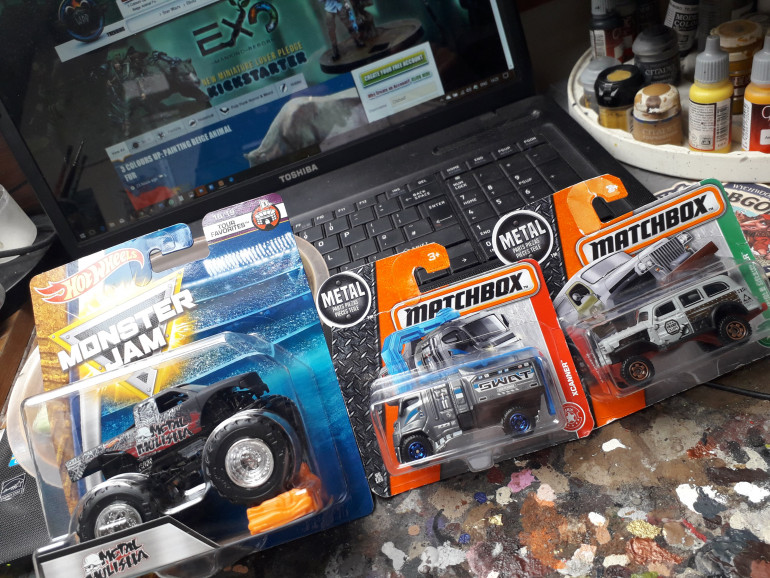
And I lucked out. I found a Hotwheels Monster Truck and a couple of other vehicles with promise, as you can see in the photo above.
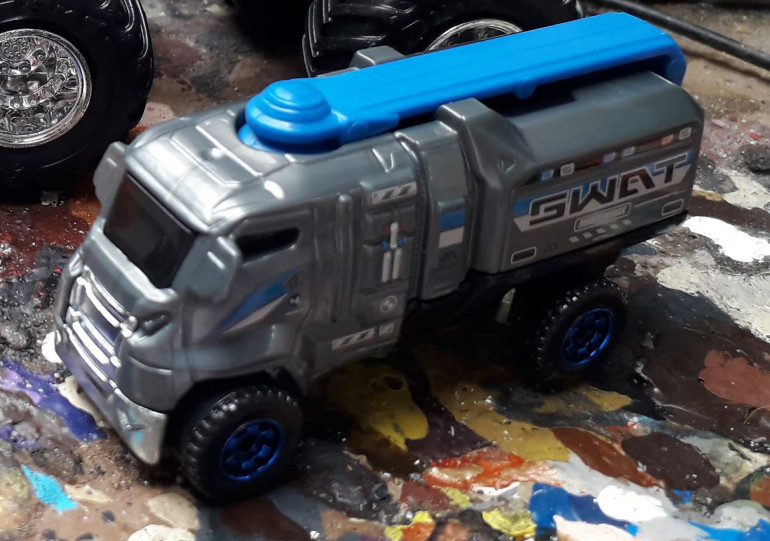
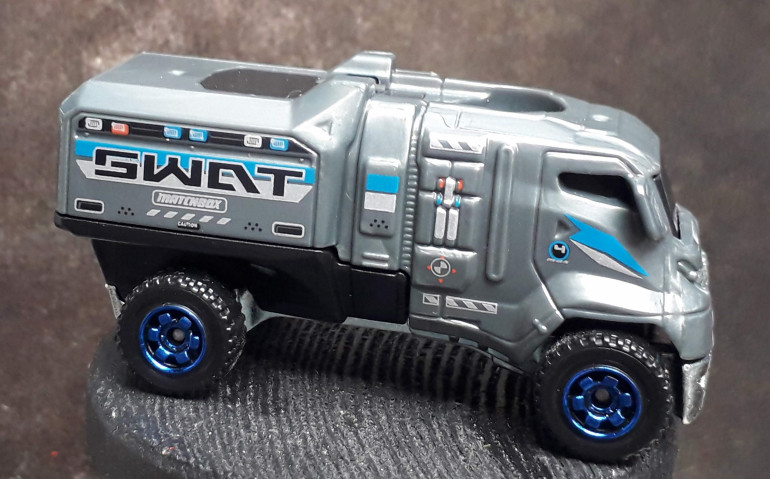
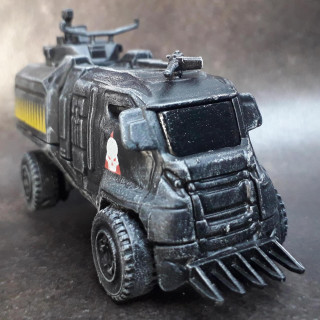
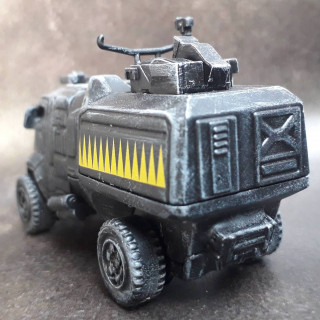
The first I decided to work on was the “SWAT Van” in the middle.
Getting it out of its packaging it had a strange big blue arm thing on it that seemed pretty silly (yeah, I know, but run with me!) so I took that off and was left with something pretty mean and aggressive to start with.
The interesting thing about this particular toy was that it was entirely made of plastic. No die-cast metal body, as is usual with hotwheels. This meant that there was no point stripping it as it was pre-coloured plastic, not painted metal. Also the windows were already black, so there was no problem with painting them as no details would be lost.
So this would make for one easy paint job!
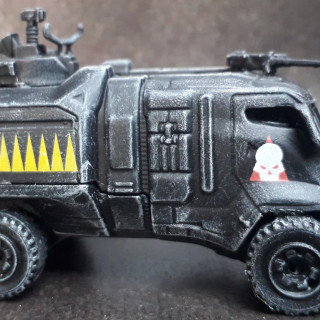
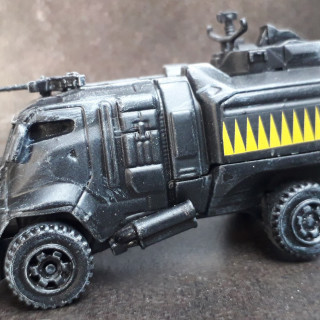
However first I added some gubbins – a missile system and also a hatch cover (to block the hole left from removing the blue arm) both from Team Yankee. And a “30 Cal”, a tank exhaust system, a kit box and a “Cullen Cutter” from Flames of War completed the “mean machine” look I was going for.
Once the bitz were glued on, then a simple spritz with matt black undercoat.
I added some random 40k transfers for interest and added meanness, dry brushed lightly with grey to pick out the highlights. A spray of matt varnish and then brush on gloss varnish for the windows, and I called it done.
Throwing the project under the bus
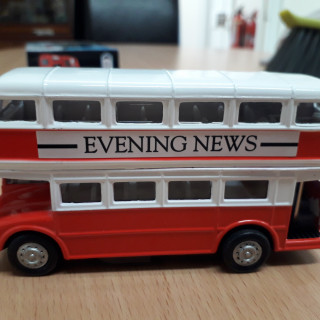
Well, suitably impressed with the game I decided it was worth investing the time and effort into some more vehicles. Of course, one would have thought that maybe moving onto a more elaborate paint job or something would be logical, but this is GASLANDS baby! I was struck by inspiration while perusing my local Wilko’s for toy cars and bought this bad boy!
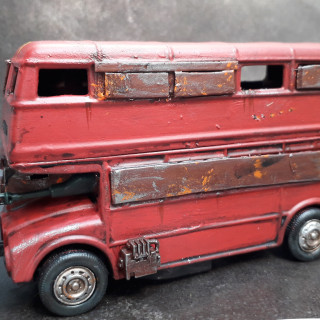
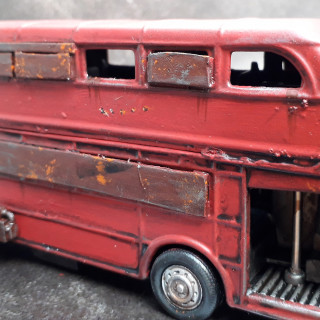
Yes, a Routemaster bus. I didn’t know what I wanted to do with it, but I knew that I wanted it in my life!
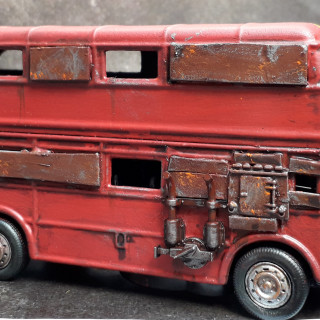
So, I drilled out the rivets holding it together, took out the glass and dismantled the whole thing. The seats got sprayed black, the shell got sprayed Army Painter Chaos Red, as did the chassis.
Before re-assembly I inserted a driver using a spare Team Yankee tank commander and then glued it back together.
I created some “metal sheet” for some of the windows out of plastic sheet (I used an old “DVD case” figures box from Mantic), stuck an extra exhaust from a 15mm WWII Panther, inserted a spare 15mm main gun from a Stug in the front window beside the driver.
I then created a ram from plastic card and stuck it on the front. Because plough-bus! Subsequently, I reread the rules and found you can’t have a ram AND a cannon on the same bus because there aren’t enough build points, so the ram came back off again after the photos were taken.
I painted up the “bits” with a terracotta.
The whole thing was then washed with Nuln Oil and then the red was wetbrushed with a dark red. The applique bitz were drybrushed them lightly with dark silver and stippled some orange.
Warbus baby!


