A Weekend With Angel: How To Paint Infinity Kum Riders Part One!
January 16, 2015 by crew
Some people think that when painting a miniature at 28mm scale it's impossible to get a good result so they think it will be better painting miniatures at larger scales like 54mm, 75mm, etc. This way you can easily paint textures, tattoo, eyes and so on. However, they are wrong. If you have patience you can get great results!
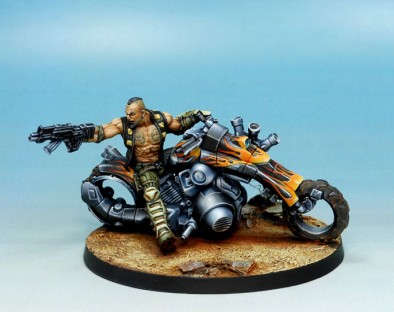
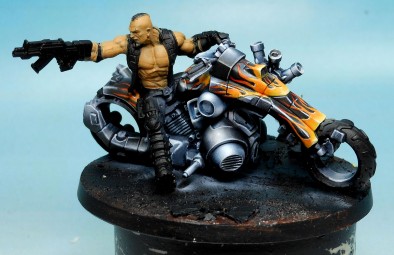
As with anything the more you paint, the more you will improve. Infinity miniatures are very good for showing off techniques and teaching you the finer details because they have good definition and the sculpts are excellent. With that in mind I made this step by step featuring the Infinity Kum Rider sculpted by Fausto Gutierrez, a great sculptor indeed.
I painted it with Acrylicos Vallejo paints because I love the pigmentation and quality. Honestly in my opinion they are the best painting company in the world and I would recommend them. I also used my new airbrush, Evolution Al Plus and one thing comes to mind, it's amazing too!
In conclusion with this step by step you can see how to paint the skin and textures as well as my handling of the airbrush to get the chromatic effects. Of course it wouldn't be a walk through without some images so we've got plenty of photos to share with you too!
Let's have fun! - Angel Giraldez
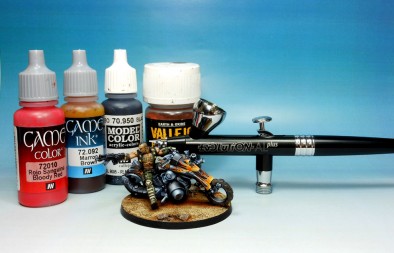
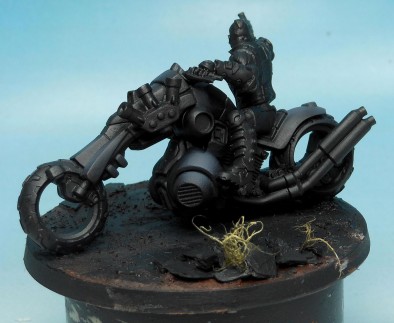
1) For this tutorial I used Model Color and Game Color Acrylicos Vallejo along with the Airbrush Evolution Al Plus Harder & Steenbeck Airbrush.
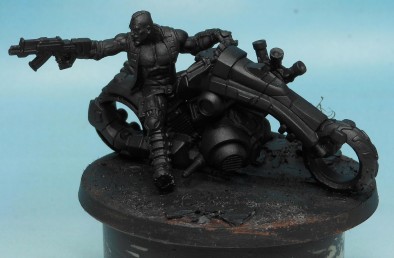
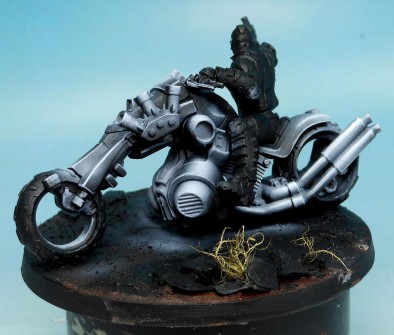
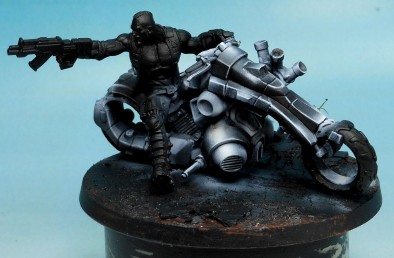
2) To define the volume and contours of the miniature and facilitate the painting of the highlights I first apply the base color with the Evolution Al Plus using a black.
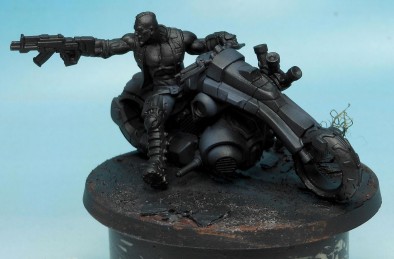
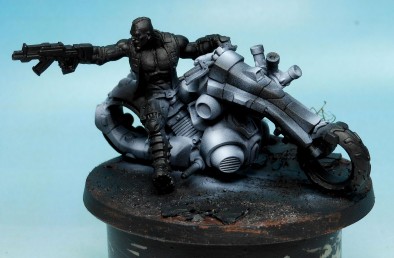
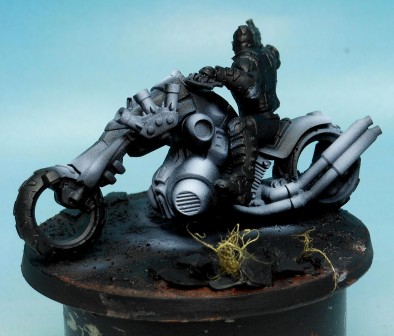
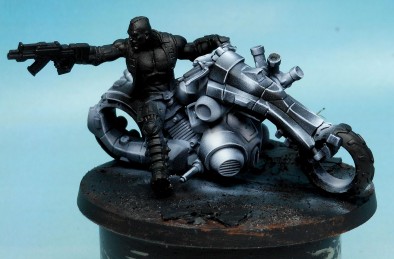
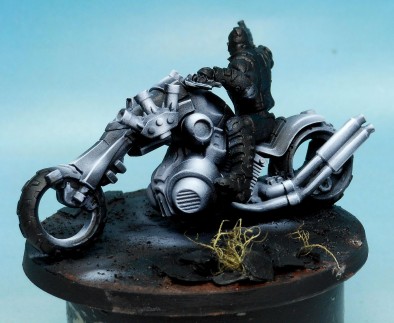
3) The first highlight is applied with Dark Grey and I also used the airbrush here too.
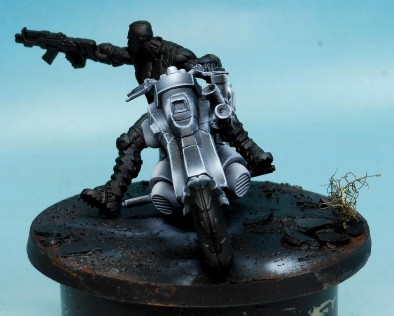
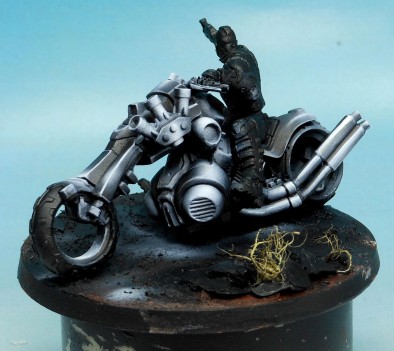
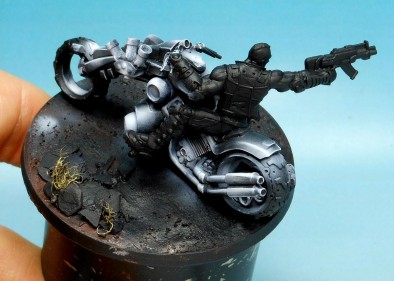
4) Another view of this step.
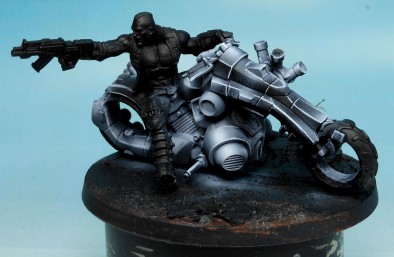
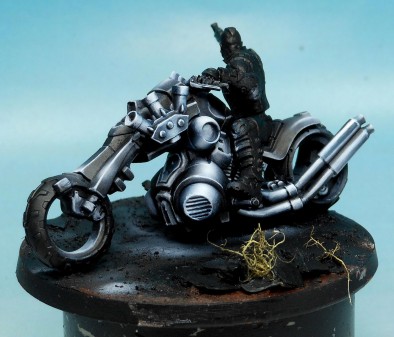
5) The second highlight is achieved with a mixture of 30% Dark Grey and 70% White. This was applied on the area of the first highlight but I reduced the size of the application.
6) Another view of this step.
7) I used a brush to further distinguish the panels using a White.
8 ) Another view of this step.
9) Using the airbrush I finished the further highlights with White.
10) Another view of this step.
11) More detail on this step.
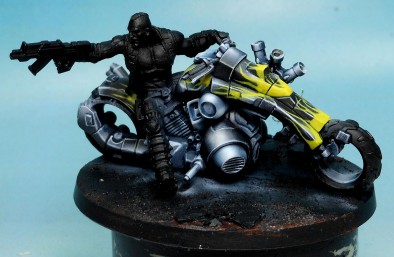
12) For profiling and defining the panels of the bike I applied washes with Black.
13) Another view of this step.
14) A closer look at the defining of the panels.
15) I applied some extra tones with Dark Prussian Blue onto the motorbike.
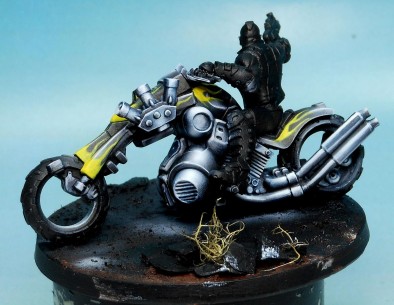
16) I began painting the fire with Flat Yellow.
17) Another view of this step.
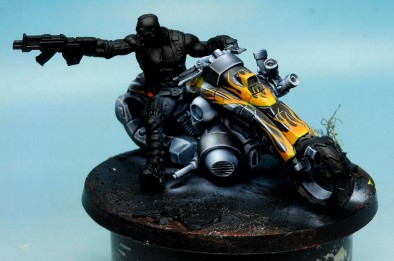
18) I applied a wash now with Orange Fire.
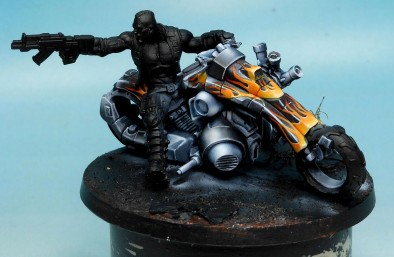
19) The next step was to apply another wash with a mixture of Hot Orange & Bloody Red.
20) I then began work painting the colour base of the skin with a mixture of 50% Brown Sand and 50% Medium Fleshtone.
Part Two Coming Tomorrow!
"If you have patience you can get great results!"
"I made this step by step featuring the Infinity Kum Rider sculpted by Fausto Gutierrez, a great sculptor indeed."




Awesome. Can’t get enough of Angels Work.
Wow this is a treat to come home to on a grey Friday
I’m not normally a fan of airbrushed, preferring a more painterly approach to miniature painting. What I love about AG’s work is the way he uses a combination of airbrush amd traditional painting, getting the best out of both techniques but producing a see less whole. With other painters I can look at a mini and say, that bit looks a bit too airbrushed. Not Angel though. Brilliant!
That should say “seamless whole” 🙁
He didn’t use to use that much airbrusing… This has changed his style slightly, and, sometime,s for the worst… Even though his work for Anima Tactics is gorgeous, some Infinity TAGs are a bit too cartoony for my taste.
Oh I agree. There are many ways to paint miniatures and Angel’s style isn’t to my taste either. As I said, I prefer something much more painterly and more grungy. You can’t help but admire the man’s talent though.
I think you are just jealous! 🙂
HA ! Yes I am…
Well, envious really. And I admire his talent very much… As well as his good nature !
I mean, in our field, he’s Mozart, and I’m just a piano teacher. But like he says, practice makes perfect !
Amazing. The last picture of his basing of the skin tones looks better than any miniature I have every painted and that is just his base tone. WOW!
Love that you made the picture expansions so large so I can be amazed by the work even more.
I was going to say the same thing! LOL Damn Angel is so beyond good he actually discourages me from painting! That’s why I like @elromanozo! He’s amazing but he makes it look easy enough for me to try!
Awww… You are sweet !
I think that’s just because I’m a teacher by trade, but I thank you.
Look at them both and you will see you might learn a tip that never came to mind. Romain has a talent in teaching the art whereas Angel has a knack at end results.
wow nice work
While the end result is stunning, I can’t help but be amazed at how easy it looks when it’s laid out step by step.
It seems easy enough to do myself, I mean, I’m sure i’d fail horribly at it anyway, but it looks a lot less intimidating when laid out step by step like that.
Great work as always.
I love my harder and steenbeck airbrush, although i have an infinity. I havent ever really used it in this way to be honest, I’ve used it for zenithal highlighting by using colors but thats always for undercoat, and I brush the main colours over it. I will have a go this way though, I don’t have the skill but I always like to try these things.
Looking forward to the next two, I want to see how he does those tatoos.
You see Ladies and Gents, it’s as easy as that bish, bash, bosh, job done…
You talented so and so Mr Giraldez.
Well count me first in line to purchase the A to Z book.
I’m disappointed that the collaboration didn’t turn out to be with DC superhero The Question, but I can live with Beasts of War! There’s a rumour going around that there’ll be video tutorials in the future…
I belive Angel Giraldez is not of this earth. He must come from the planet ‘talent’ located in the galaxy of ‘awesomeness’.
I think I have seen it on his facebook couple of months ago, great stuff, makes it look so easy.
I thought this was going to be an interview\ video tutorial, got to say I’m disappointed in BoW as this is just a repost of his Facebook step by step from April last year.
Yes, we all know he’s an awesome painter, but this style of ‘tutorial’ is no use to anyone trying to better their technique. It’s a throwback to the ‘eavy metal books of yesteryear. Wouldn’t we all rather see a video series the like of which GW have started producing where you can see what consistancy of paint and style of application he uses etc instead of ‘white was used as a highlight’. Thought we were past this sort of thing these days.
There is room for both 🙂
Give it some time and you may well see the other 😉
Oh is that so…
At little tease too what might be 😉
Great article. Very interesting to see the stages.
He’s clearly extremely talented and the how to seems easy to follow, of course you need the skill but I’m sure that would come with time.
Nice article.
Dungeon Saga, now this…Tres cool, or Tres CONAN!!!
Oops comment added to wrong post, but nice work here
Wow, Wow, Wow, this is a truly amazing to see how a master works.
My word, those DZC buildings look amazing!
And not knowing much about the world of Conan, I guess I’d be some kind of ranger-like character. Bit of a jack of all trades, able to look after myself, but not showy and not brawny!