Backstage Sneak Peek: Aquan Stringray Class Destroyer!
October 11, 2013 by anateus
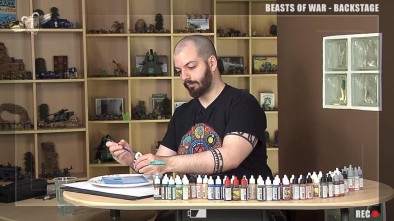
Back from the depths of the BoW painting dungeon, it’s time to look at another time saving, but effective technique to get your models off the painting table and onto the gaming table!
This time around I’m going to enlighten the gaming masses to a technique that I know for sure, many many gamers aren’t all that familiar with, or that accomplished at. Washing!
How many times have you stood across the table, glanced at an opponent’s army, locked eyes with them and though “if only he’d bothered to wash, things would have turned out so much better”
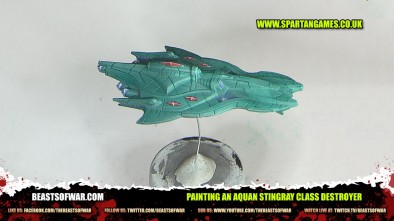
So, this time aiming at the Aquan Stingray Class Destroyer from Firestorm Armarda, we’re going to look at how to quickly and effectively get this model to a table top standard, with a few easy steps.
Tools of the Trade
For this scheme you’ll need the following...
Modelmates Primer - White Spray
Modelmates Primer - Light Grey Spray
Vallejo Jade Green
P3 Coal Black
A Wet Palette
Large Flat Brush
Technique
First off when working on any kind of resin material, it’s always good to give it a good clean first. I tend to throw them into the sink, with some warm water and a bit of washing up liquid and give them a bit of a scrub, this ensures that any mould release has been removed, which otherwise would cause all kinds of havoc with your painting. Once dried, it’s time to prime!
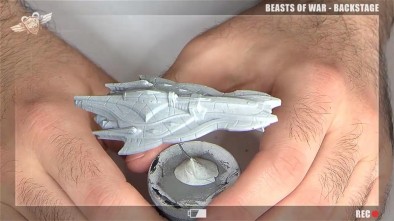
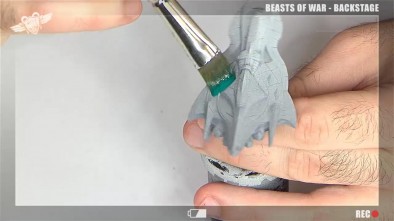
Starting with the light grey primer, give the model a coat all over, it might be an idea to try and mount the model on something so that it’s easier to handle, or just do it in stages, waiting for each side to dry before moving onto the next. Try to prime the model with short dusting of the spray, to ensure that it doesn’t go on too heavy and obscures the detail. After this is finished you shouldn’t have any of the resin showing though.
One the grey primer has dried, the next step is to use the white, now, essentially what you’re doing with this step is to provide the gradient highlight for the model, before laying down any actual base colours, so aiming the can at 45 degrees, firing only from the front of the model, dust the model with the white, so that the front section of the model is picking up the white, while the rear is progressively darker due to the grey.
You only need to do this for the top side.. as people aren’t generally going to see the underside and also, with our 2D thinking, we generally think of light sources coming from above whereas really, in space, light can be coming from anywhere.
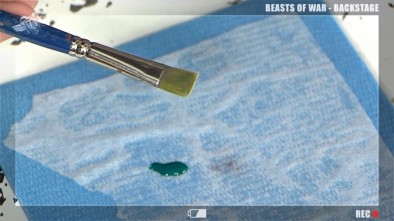
A quick intro to the Wet Palette, this tool is used to keep your paint wet for longer, meaning less waste of paint, but also the ability to blend on the fly. The Wet Palette is made up of a container, a sponge (to hold the water) and then a membrane over the sponge to allow water to pass from the sponge through the membrane (to the paint, keeping it wet) but not the other way (so not leaching the moisture from the paint). Now onto the fun part!
Using the Vallejo Jade Green, apply some of this to the Wet Palette, and then start mixing in water to the paint… your looking to get this to a very light wash level of consistency, so it’s not too strong a colour, but not totally translucent. At this stage, you could also add a very small drop of washing up liquid to the paint this will break the surface tension and stop the paint from pooling on the model, which is quite important.
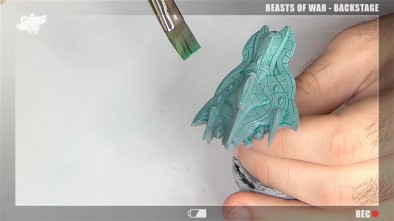
So, taking the large flat brush you want to start giving the model a coat of your green wash, working the paint from front to back, not adding too much paint, or leaving pools of it on the model anywhere.
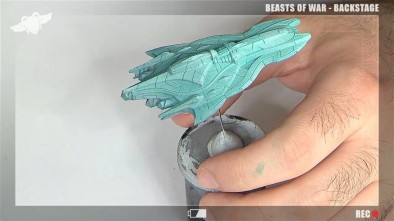
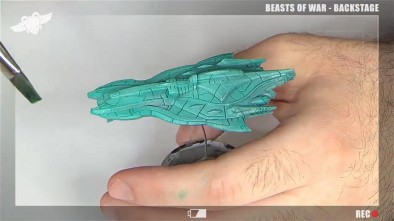
Once you’ve covered the top, if able, do the underside, or wait till the top has dried and continue onto the underside. Once dried you should have something resembling the following.
You should be able to see straight away how the wash darkens when it hits the grey primed areas, giving you a natural gradient without too much effort!
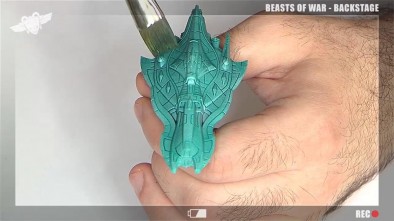
From here, you going to want to add additional layers, to build up the depth of the colour, ensuring to get into all the nooks and crannies and make sure that all the primer is now washed green.
Once your happy with the colour (best to let it dry, so you can see the true colour, as it always looks a bit different to when it was wet), it’s time to move to the next stage.
Using the P3 Coal Black and the Wet Palette water the paint down again, so that it’s ready to be used as a wash. The P3 Coal Black is a perfect paint for this situation, rather than a standard black as its actually a very very very dark teal so when reduced down to a wash, blends nicely with the green already used and also isn’t too overpower, unlike a straight black.
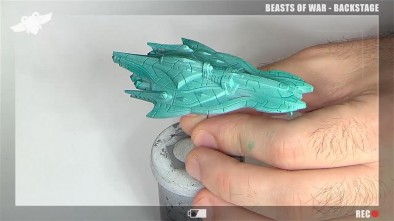
Starting at the rear of the vessel this time apply the Coal Black wash from the back towards the front of the ship this will ensure that the largest concentration of the paint is deposited at the rear of the vessel, where it will be darker due to the grey primer.
Ideally, your aiming to get this wash into all the fine lines and details of the vessel to give it some definition and contrast from the green already applied. Again, leave to dry, and then repeat till your happy with the effect.
And there you have it with this technique, you’re getting a nice gradient effect on the models, rather than just flat colour, and you can do several at the same time and have a fleet table top ready in no time!
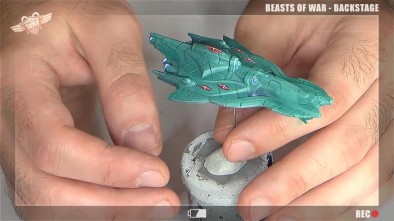
Once all the models are to this level, you can then go onto further detail the models, adding in glow effects, detail work, decals etc!
If you’d like to see a video of this technique, along with further steps to complete the model as seen above, dive backstage and view the videos now!
Full Backstage Video!
Gavin Townsend & Romain Darmon
If you would like to write articles for Beasts of War on painting or anything else please contact me at [email protected]
Supported by (Turn Off)
Supported by (Turn Off)
Supported by (Turn Off)




Very nice! *like*
But it isn’t Aqua Stingray!
It’s Aqua Marina and Stingray
http://www.youtube.com/watch?v=GSDIplKokwg
And they say I’m camp… :p
STAND BY FOR ACTION!!!!!
I have seen the vid. Worth the watch. Im still perfecting the technics. This helped me along
“Anything can happen in the next half hour!”
Another top video by Roman. Not really a technique i’d use but it’s always handy to have options. 😀
(Also – Gav. Whilst I actually like it, don’t you think your avatar pic is a little inappropriate for the young ‘uns that view the site? )
Young one? Heck I’m in my late 30’s and have nightmares from that avatar 🙁
I doubt a different photo would make my face less scary to the more fragile readers ! ; )
No cufflinks at least